【Bubble】スケジュール予約機能(Googleカレンダー)を実装する方法
概要
Googleカレンダーと連携することで、予定を管理できます。ユーザーはBubbleアプリケーションを介してスケジュールを作成したり、予定を確認したりできます。今回はBubbleとGoogleカレンダーを連携して、スケジュール予約管理を実装する方法を解説します。
Googleカレンダーの連携
1.Google Cloud Platformでプロジェクトを作成する
Google Cloud Platformにアクセスし、プロジェクトを作成します。
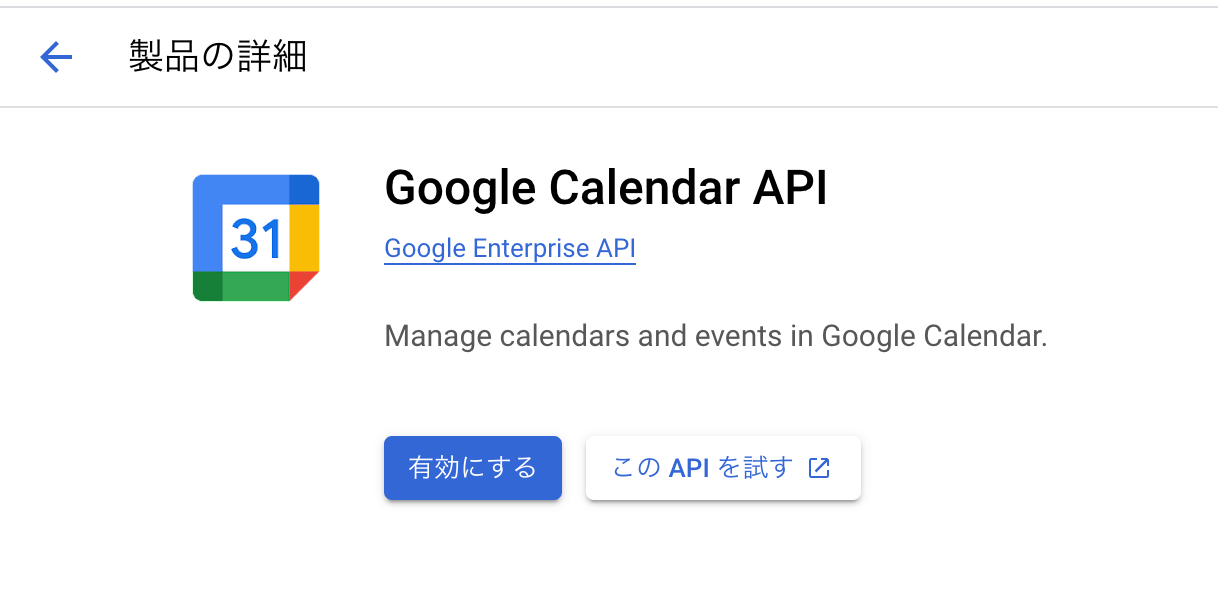
2.APIとサービス > ライブラリ からGoogle Calendar APIを有効にする
3.Google Cloud Platform(GCP)で利用登録する
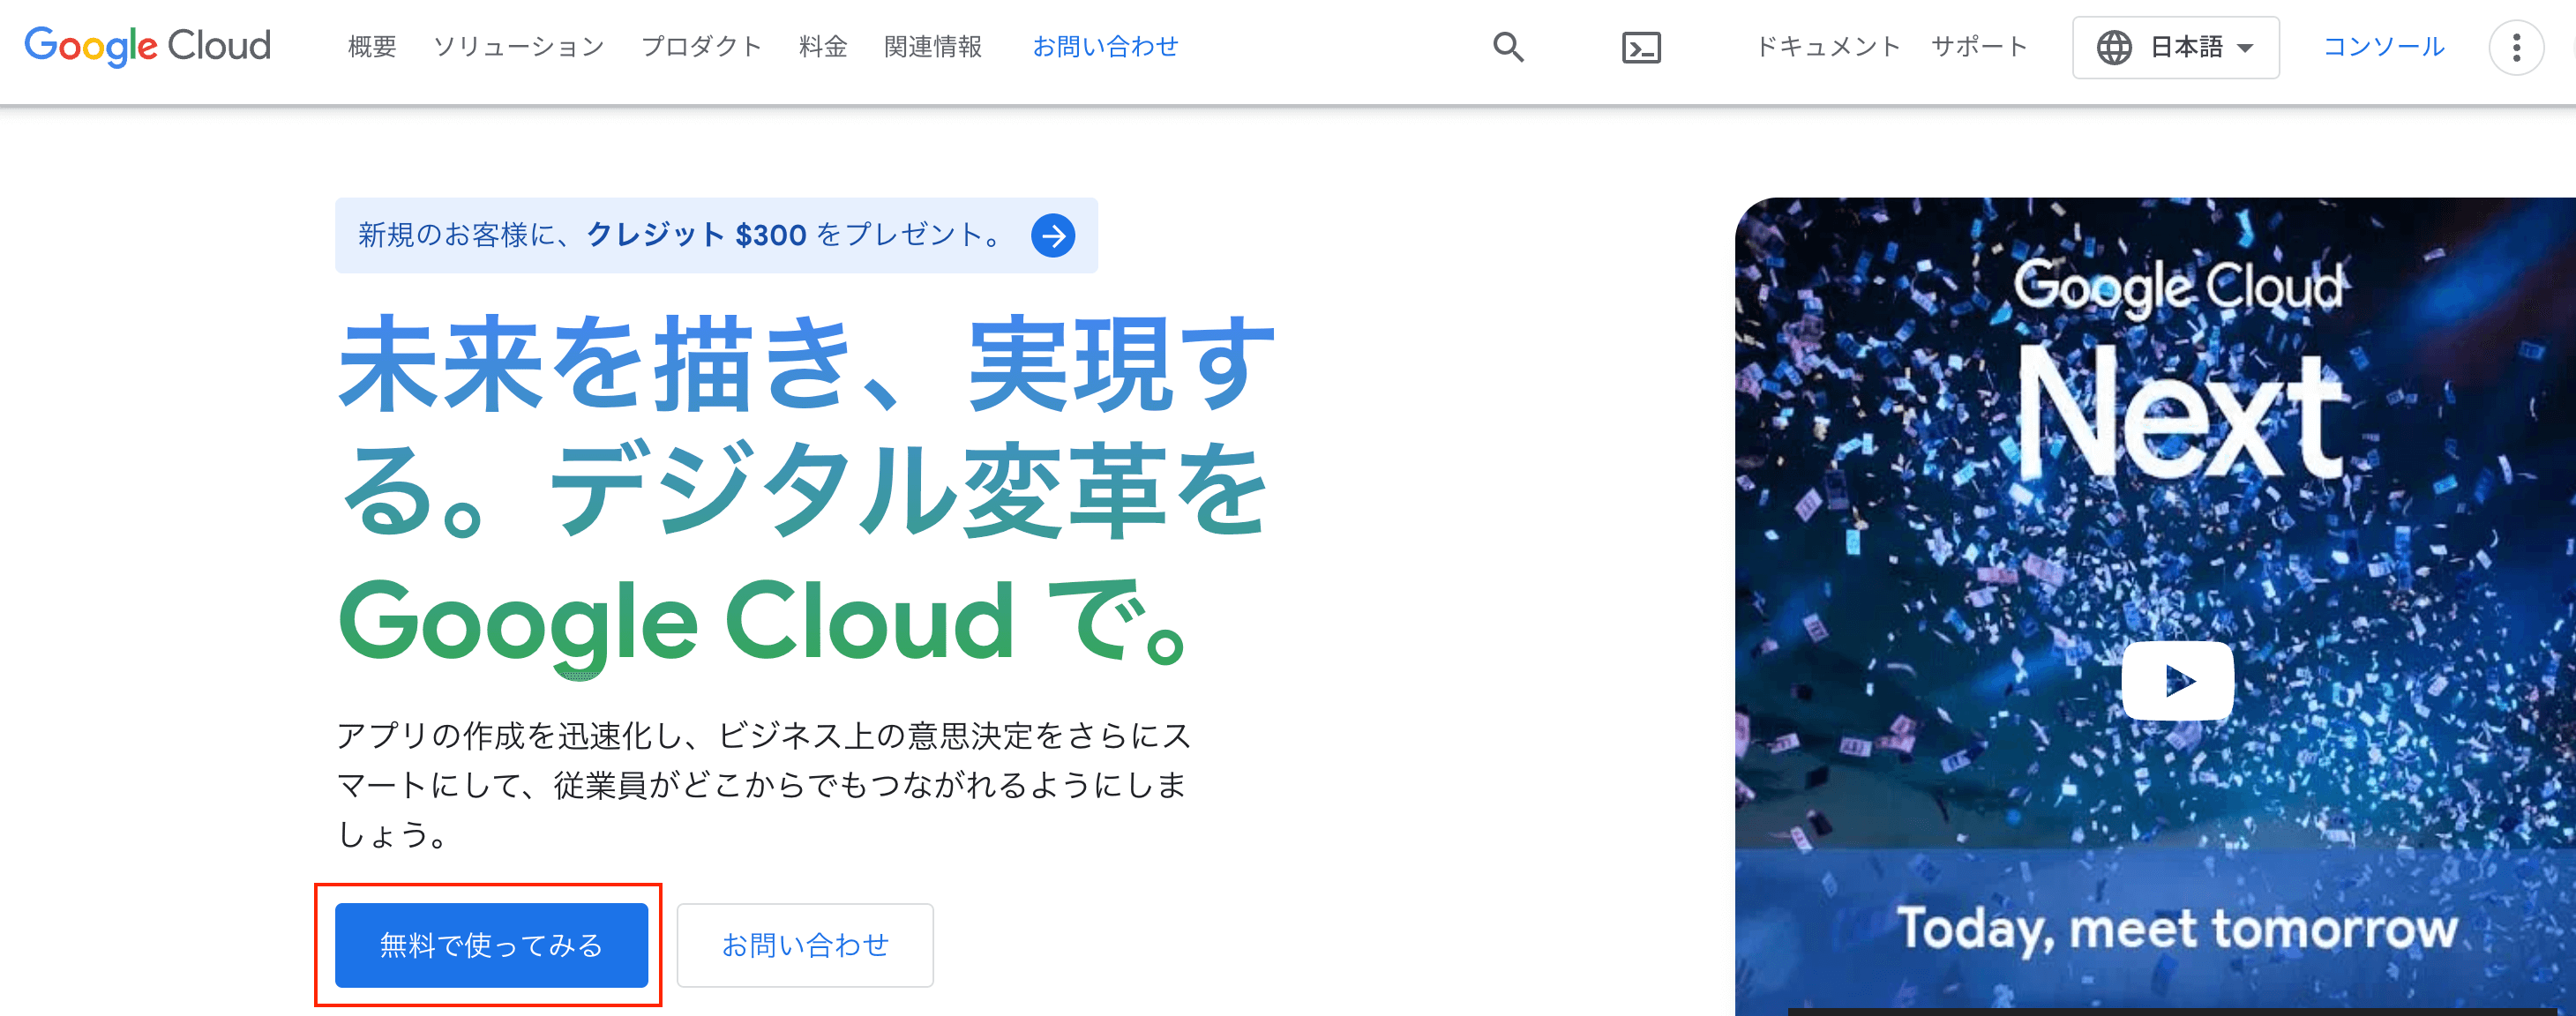
まずGCPにアクセスし「無料で使ってみる」をクリックします。
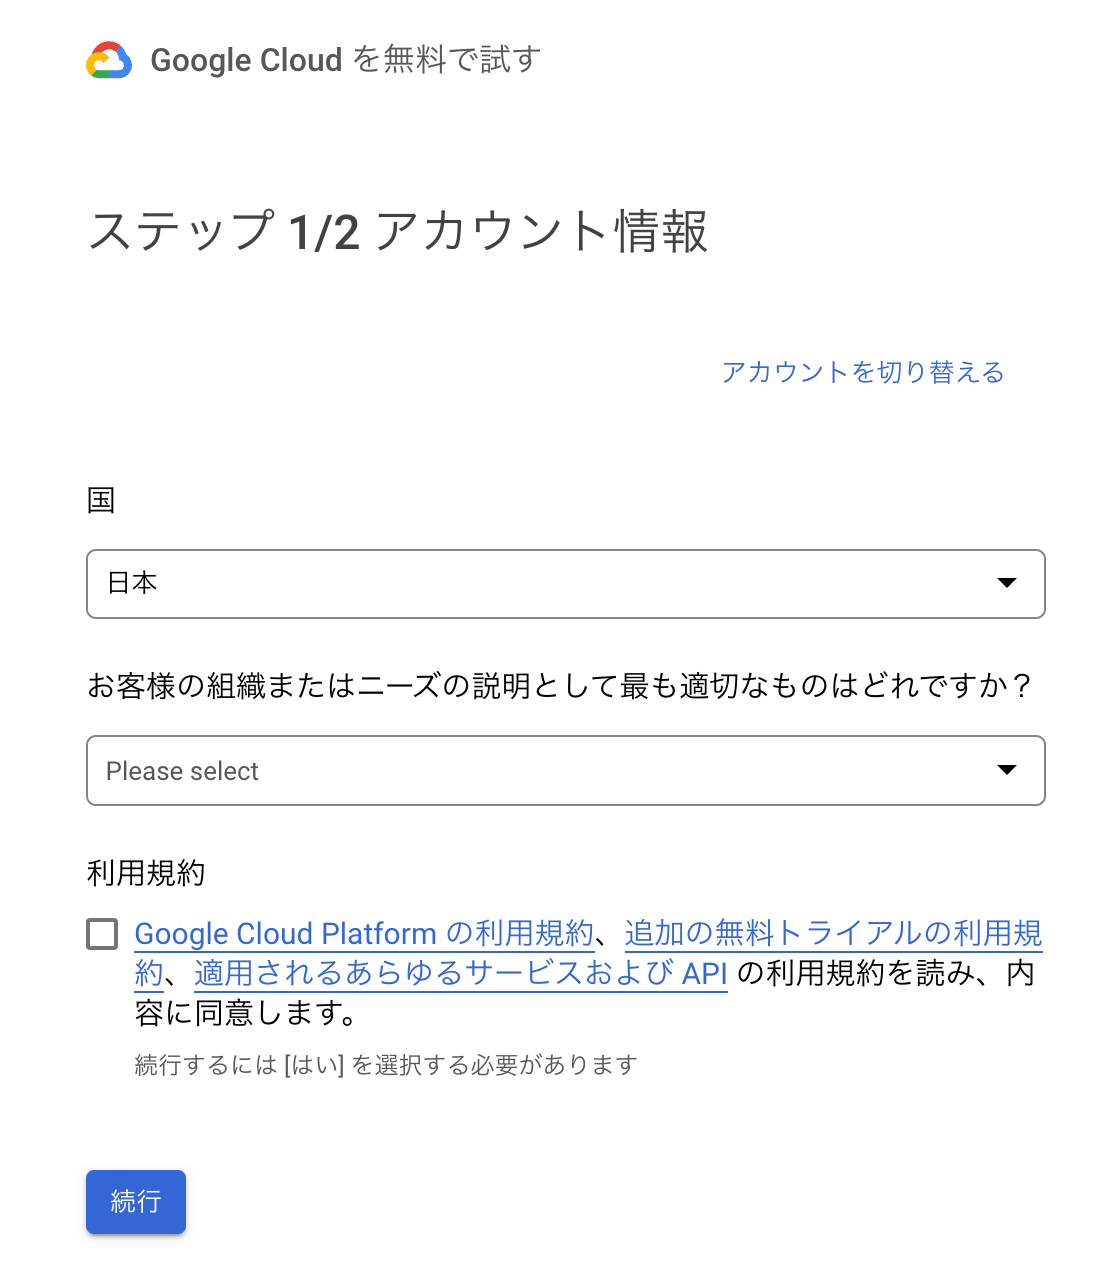
利用するGoogleアカウントを選択しログインすると、以下のような画面が表示されます。
利用規約にチェックを入れて「続行」をクリックしてください。
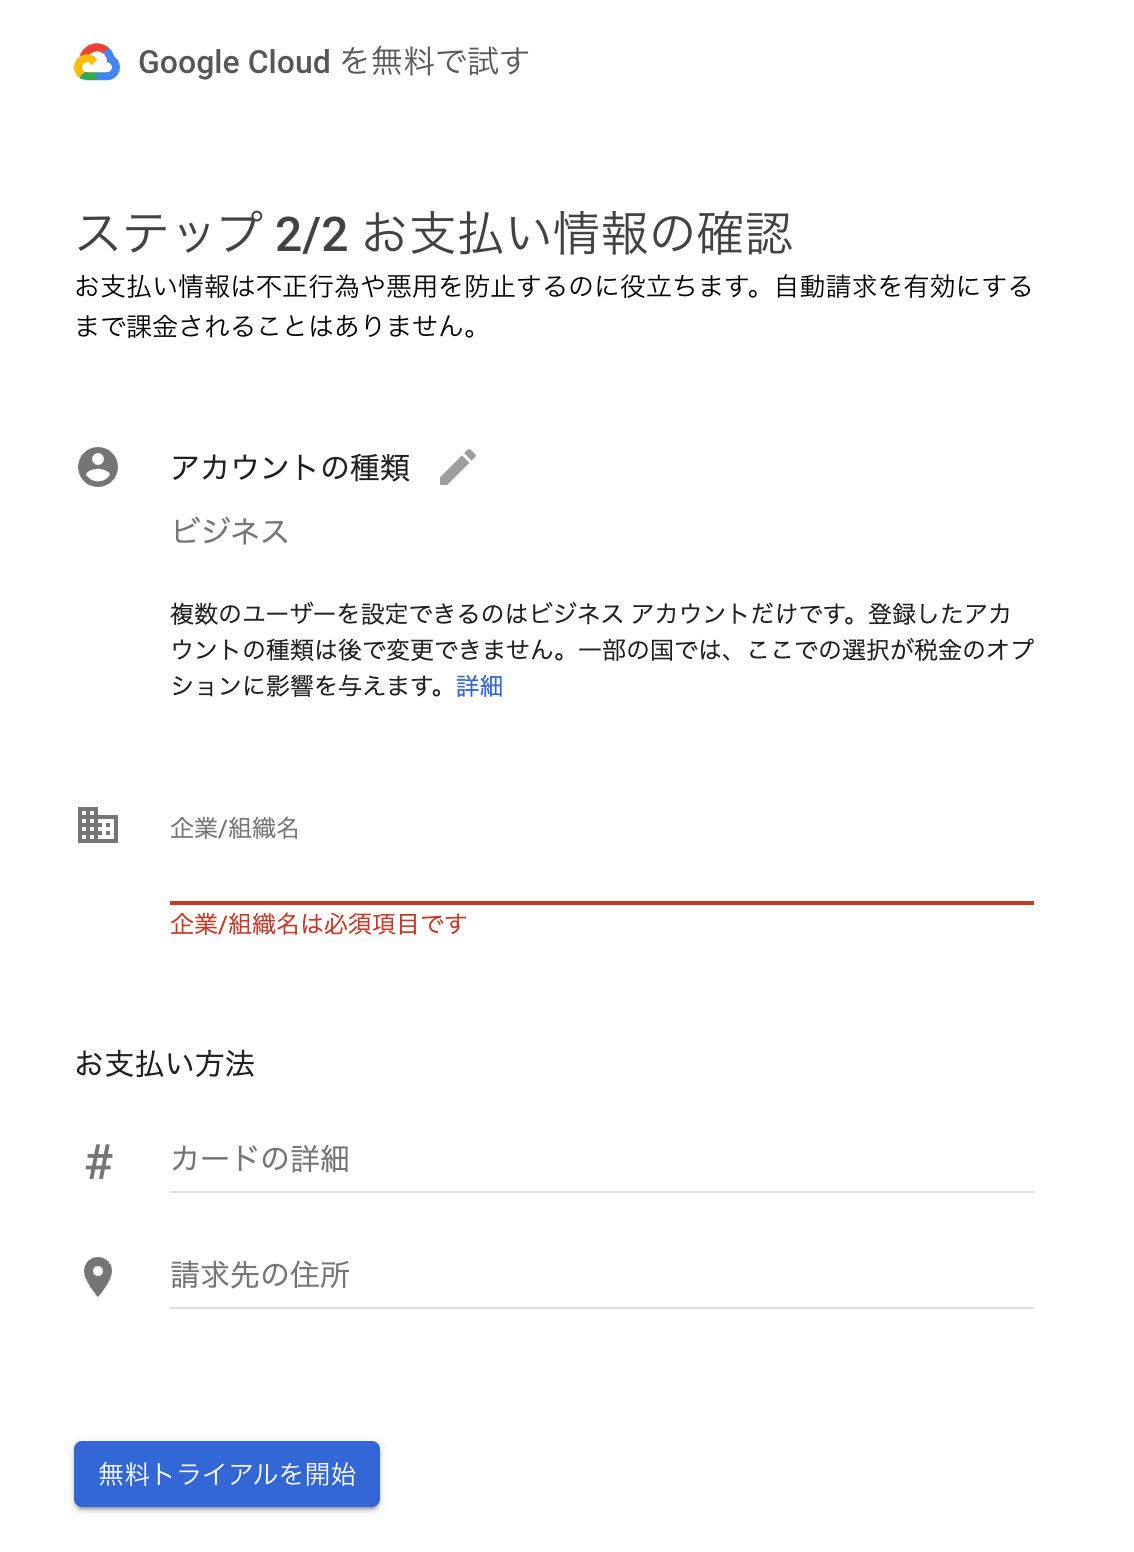
お支払情報等を入力して、利用登録は完了です。
4. GCPプロジェクトを作成する
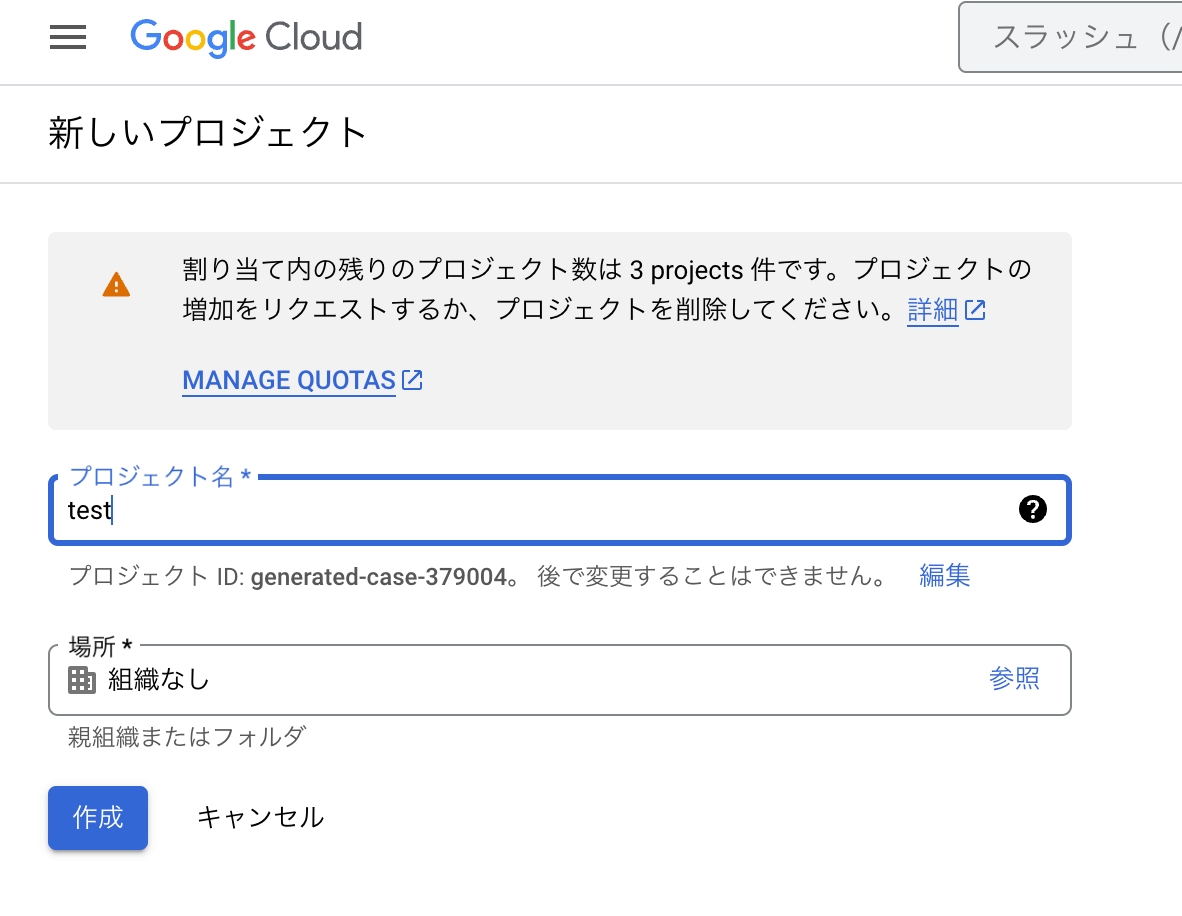
画面上部の「プロジェクト名」を選択すると、以下のような画像でプロジェクトの選択ウィンドウが表示されるので「新しいプロジェクト」をクリックします。
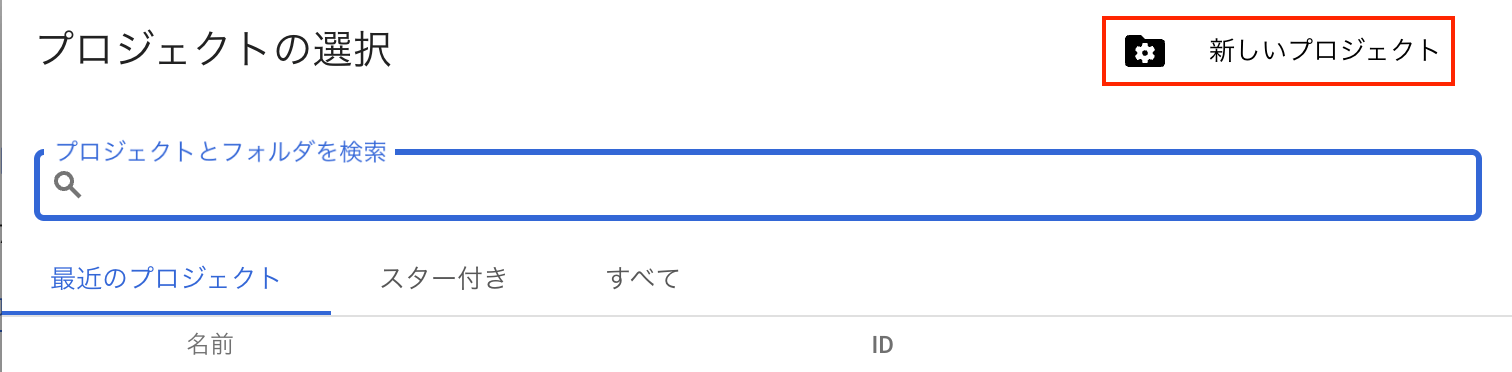
ℹ️ プロジェクト名は任意の名前を入力してください。
5. OAuth同意画面を設定する
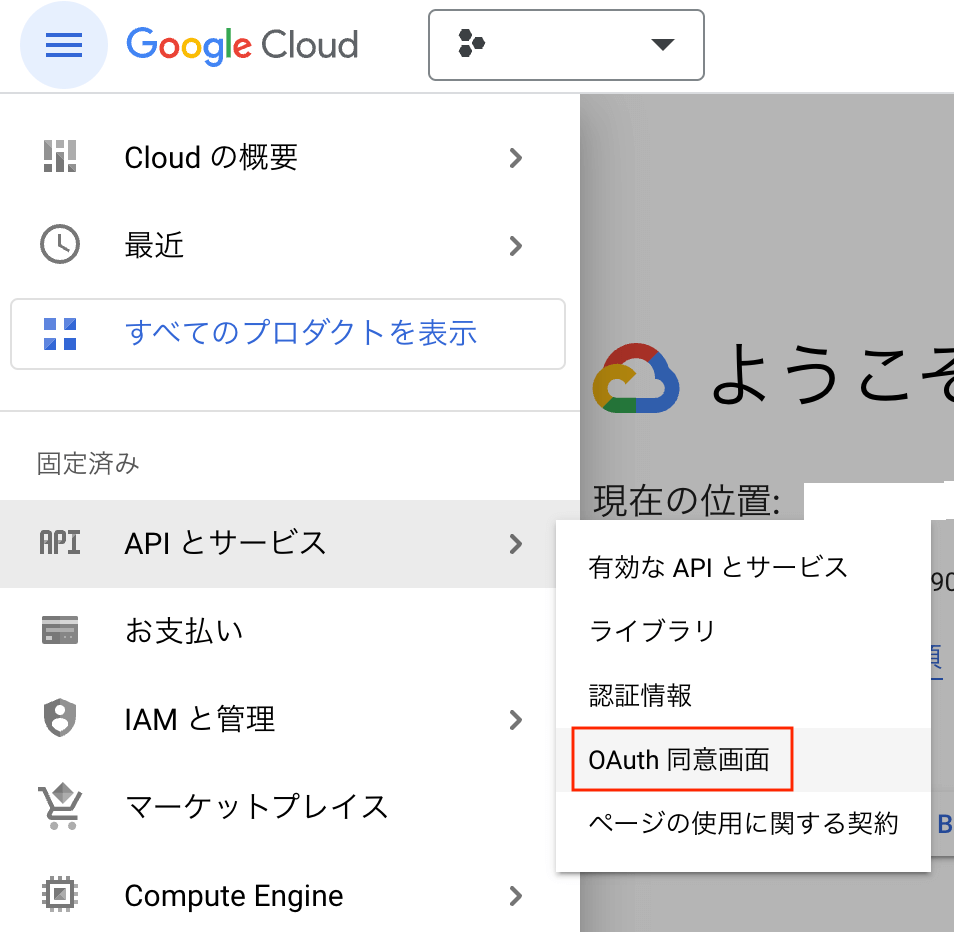
左メニュから「APIとサービス」→「OAuth同意画面」を開きます。
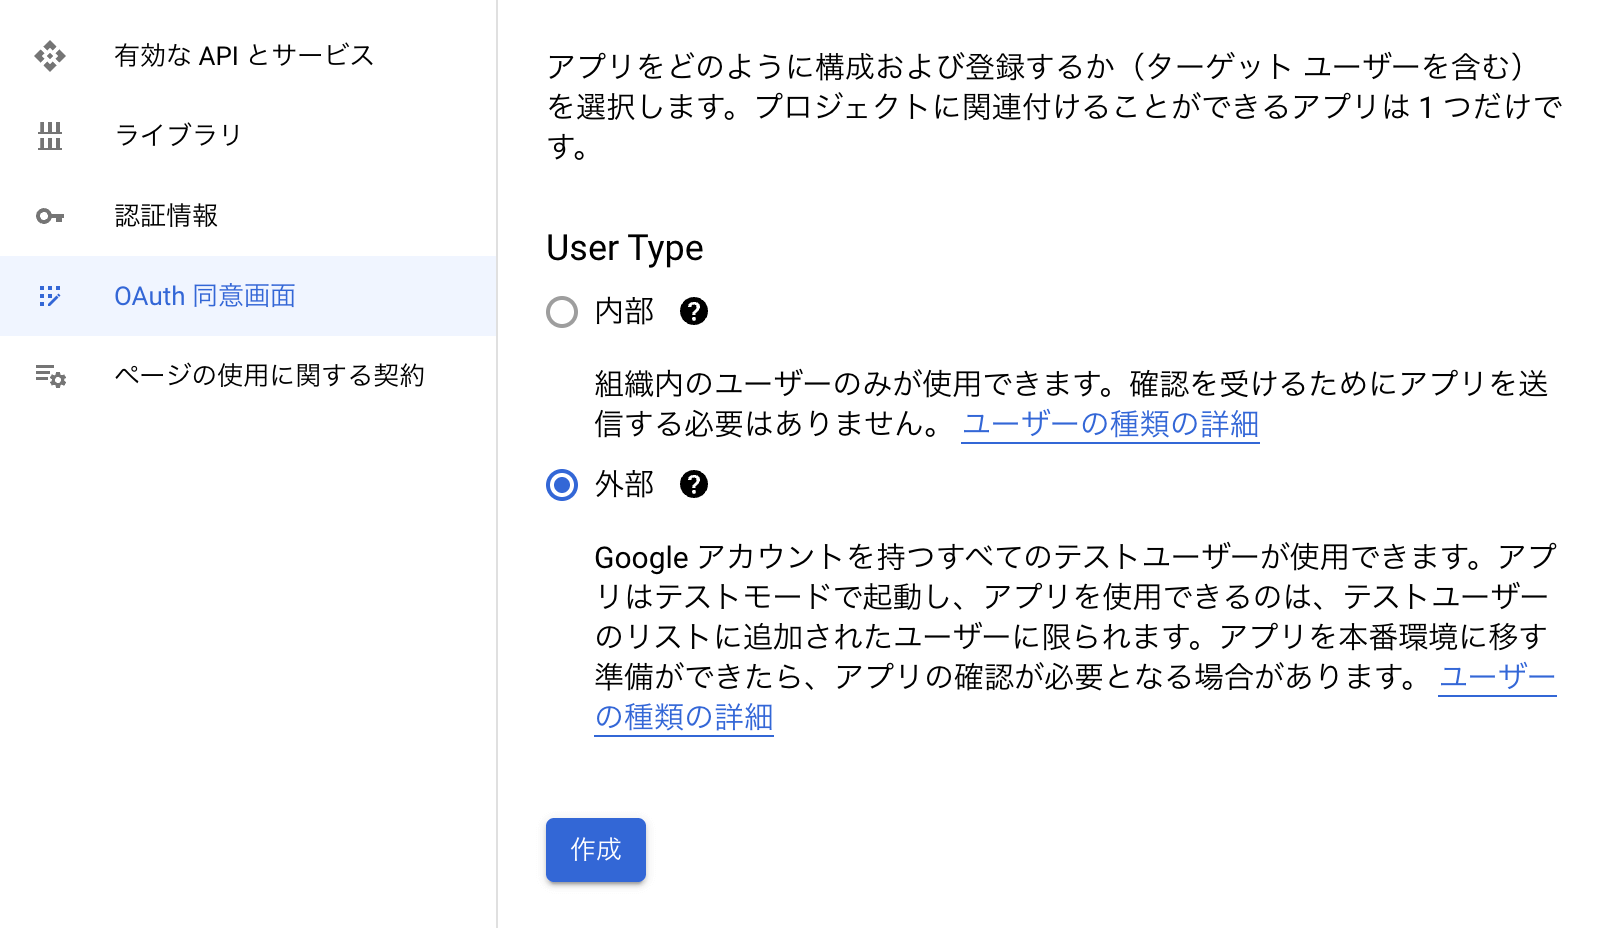
以下の画面からUser Type「外部」を選択して「作成」をクリックします。
最低限必要な項目を入力します。
| アプリ名 | 任意の名前 |
|---|---|
| ユーザーサポートメール | メールアドレスを選択 |
| アプリケーションのホームページ | https://{自身のドメイン}.bubbleapps.io/ |
| 承認済みドメイン | http://bubbleapps.io/ |
| デベロッパーの連絡先情報 | 指定メールアドレスを入力 |
「スコープ」は設定不要の為「保存して次へ」をクリックします。
「テストユーザー」には実装テストに利用するGoogleアカウントのアドレスを入力します。
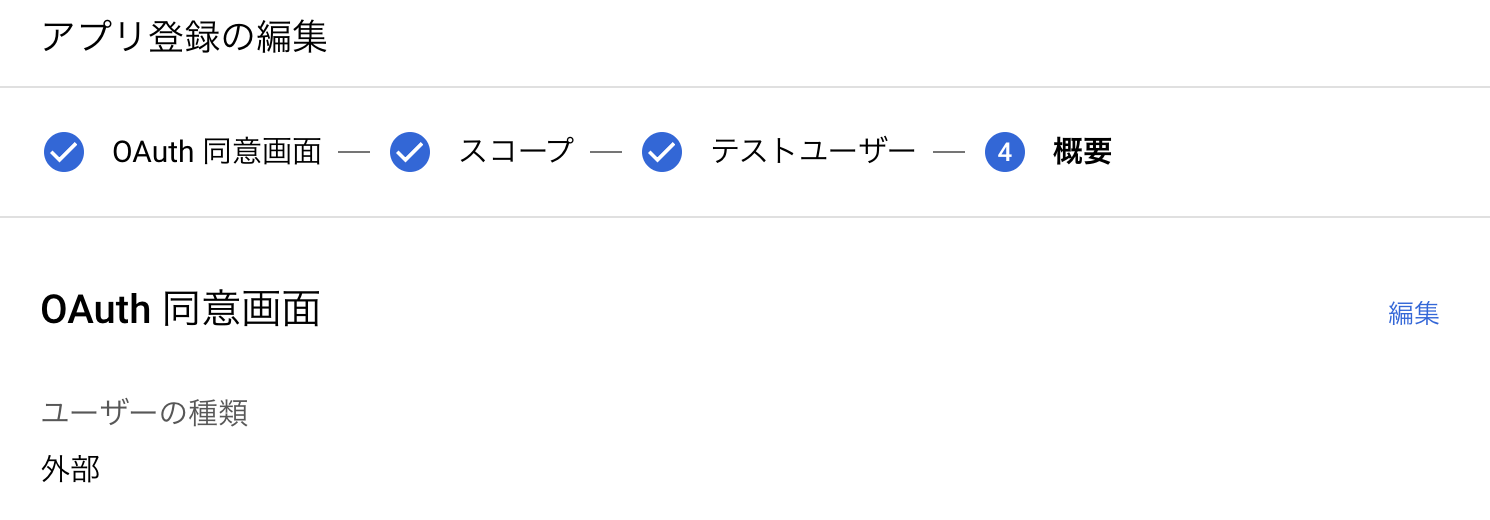
「概要」にて、OAuth同意画面の設定は完了です。
6. 認証情報を設定する
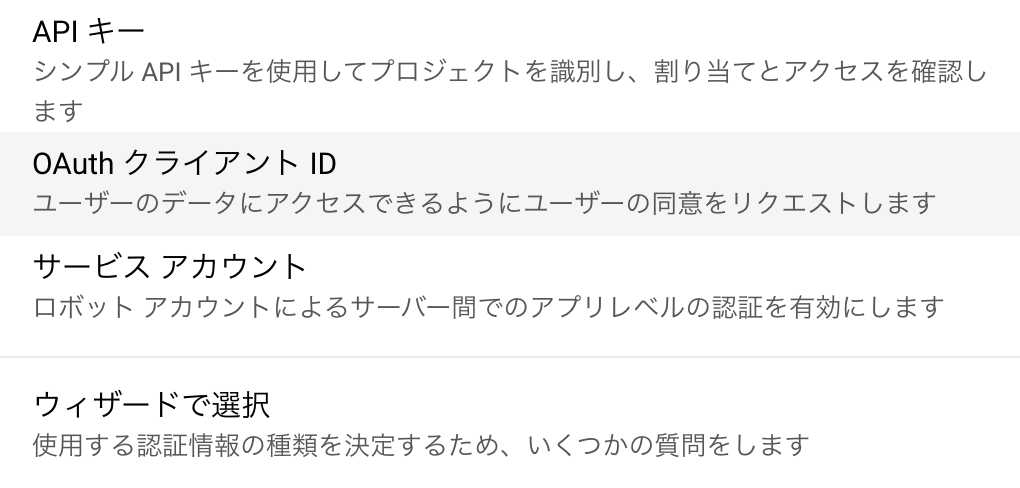
左メニュから「認証情報」を開きます。「+認証情報を作成」をクリックし、

「OAuthクライアントID」を選択します。
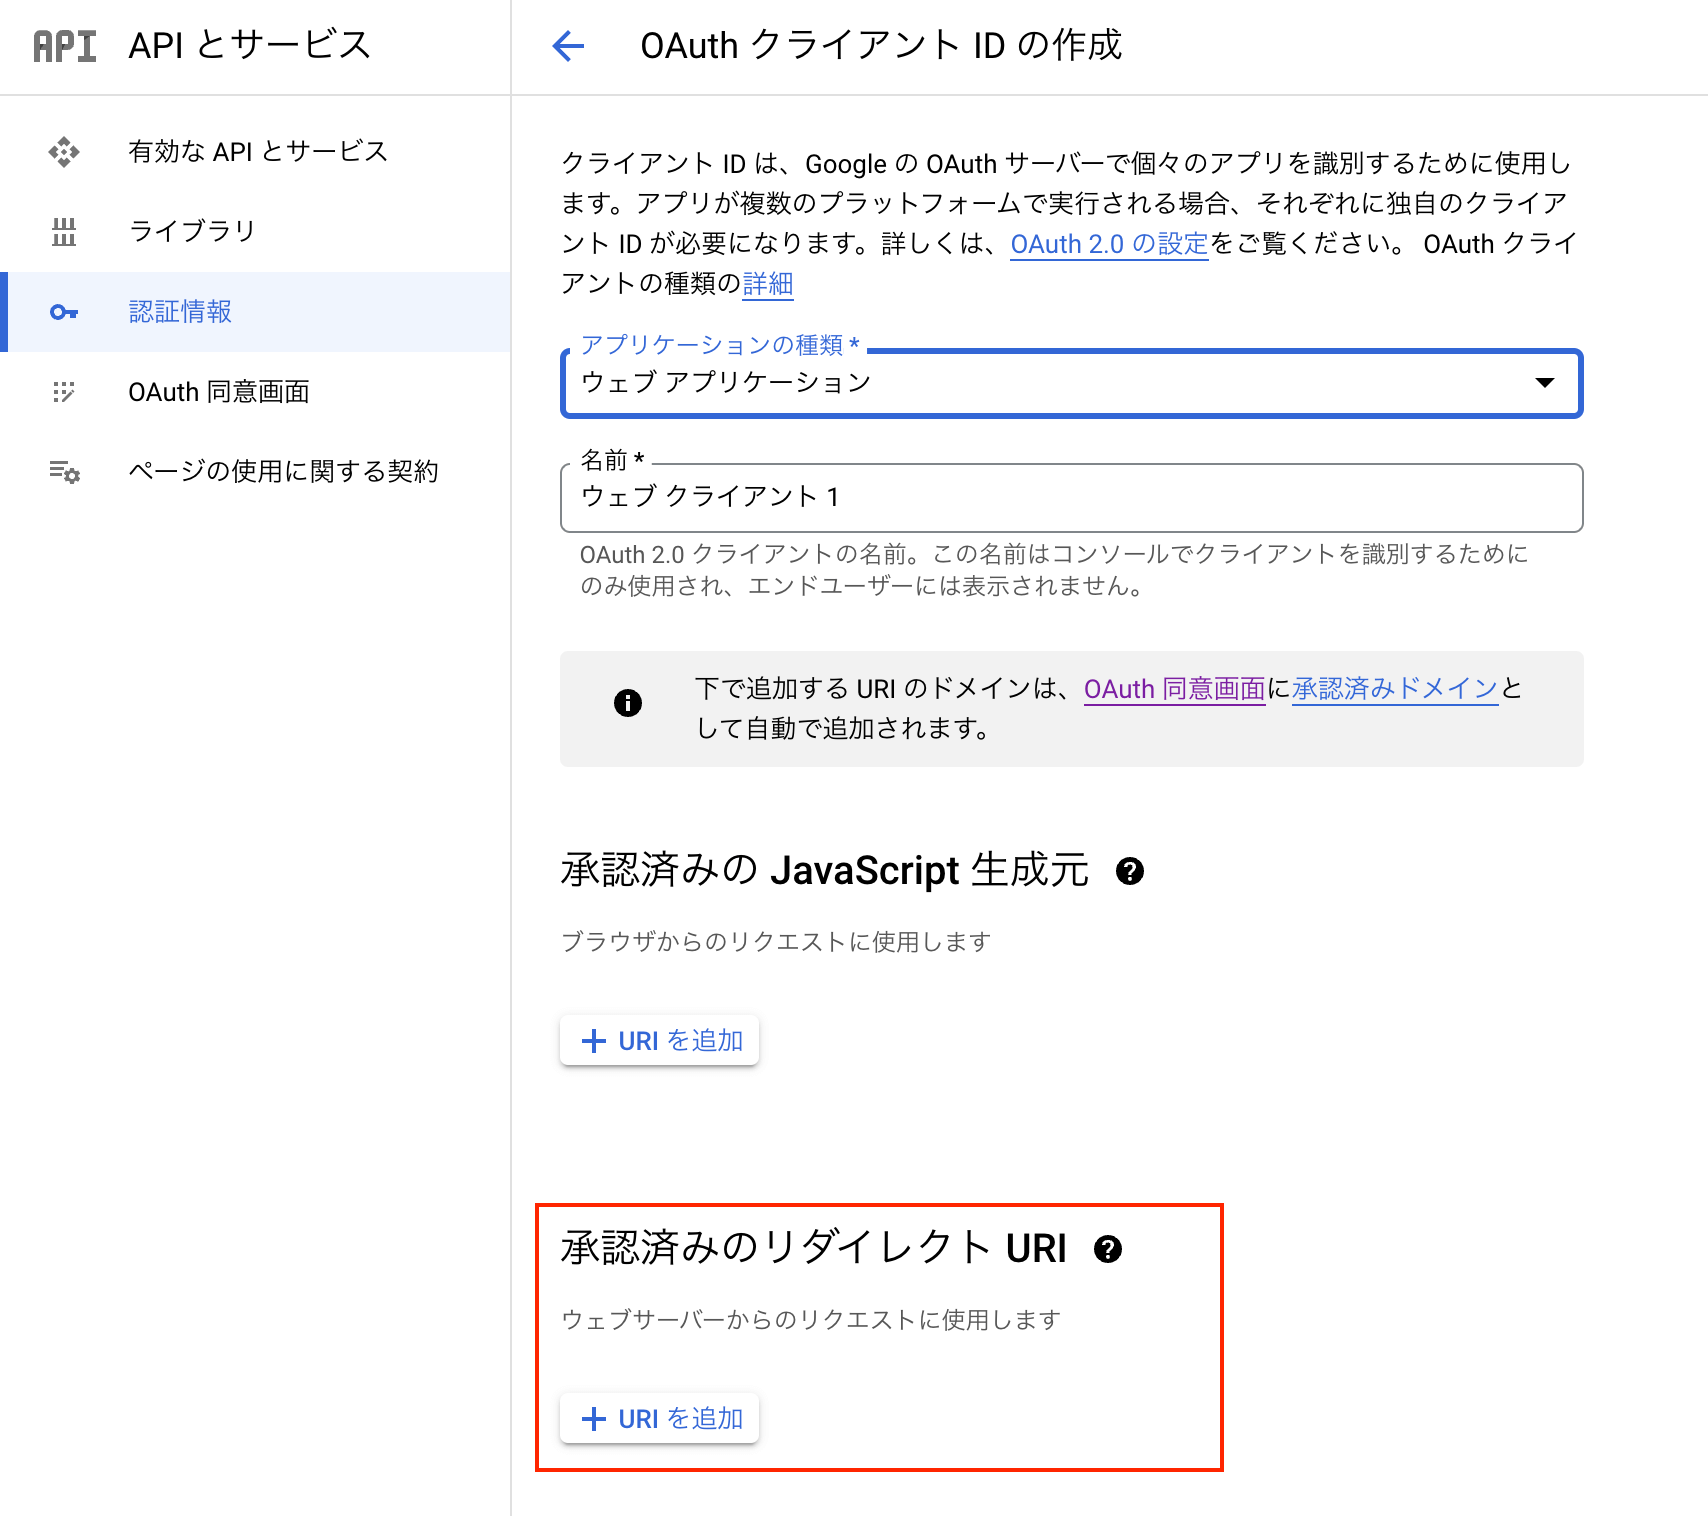
「承認済みのリダイレクトURI」の「URIを追加」ボタンをクリックし、Bubbleのプラグインで控えておいたredirect URLを入力し「作成」ボタンをクリックします。
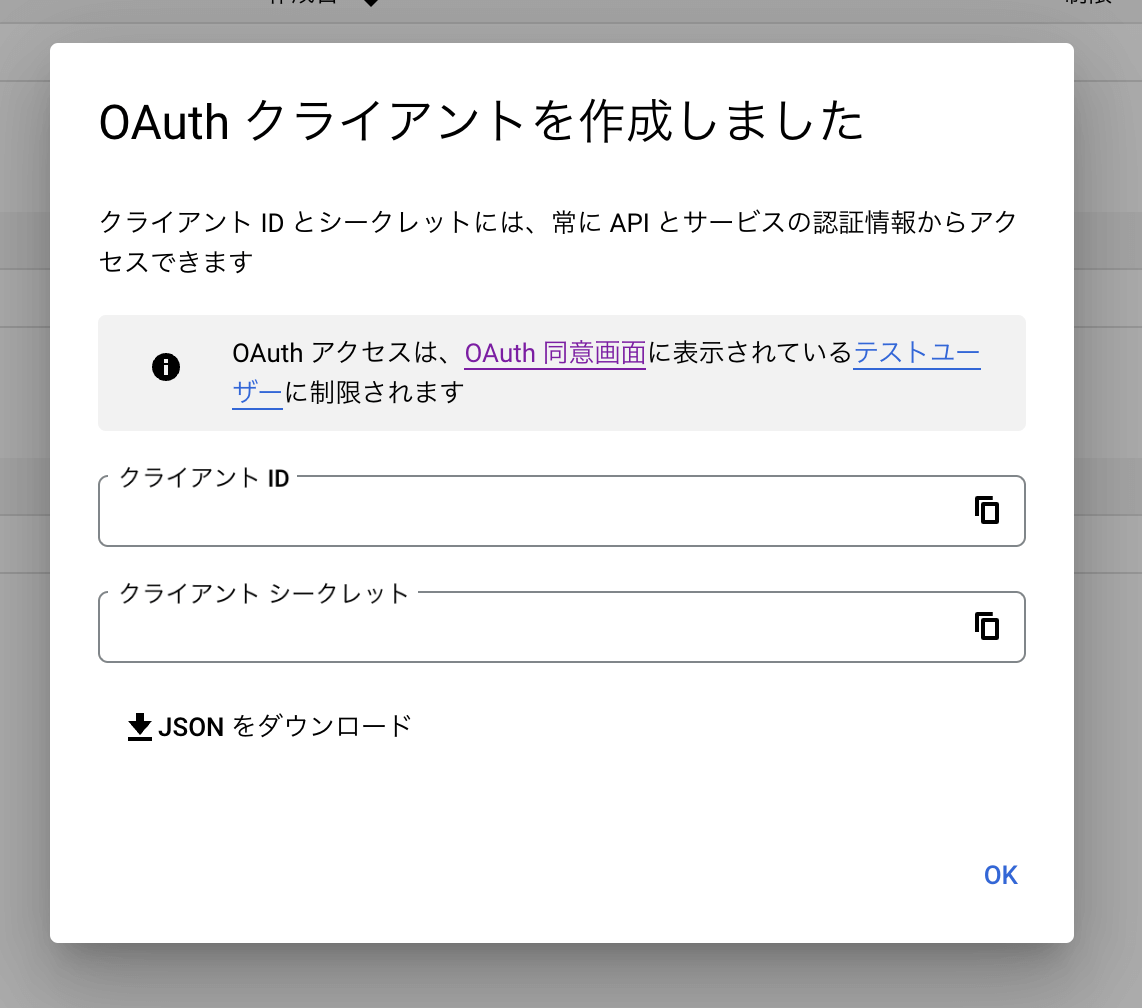
「クライアント ID」と「クライアント シークレット」を取得します。
Bubbleプラグインの設定
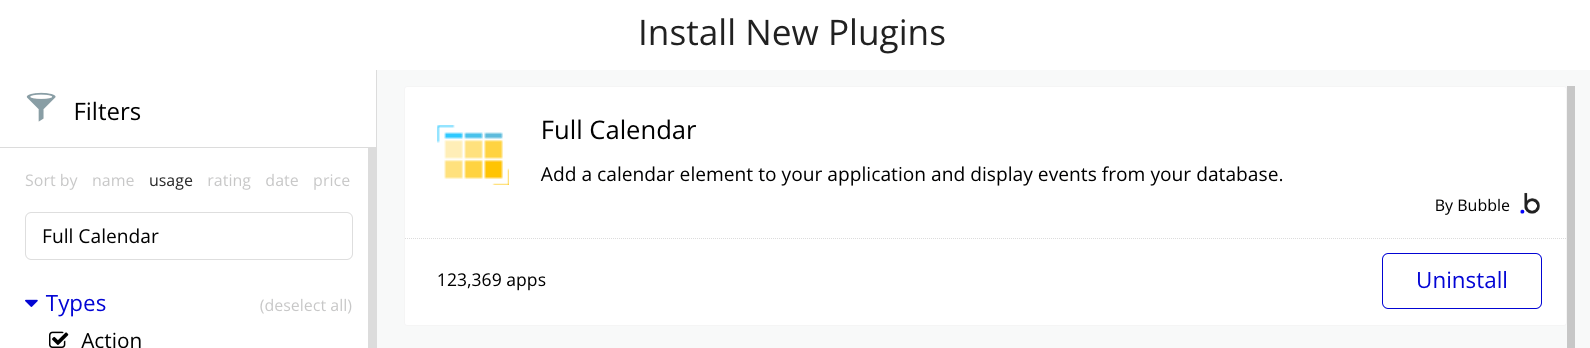
1.「Full Calendar」プラグインをインストールする。
「Full Calendar」を使用することにより、簡単にカレンダーエレメントが追加されます。
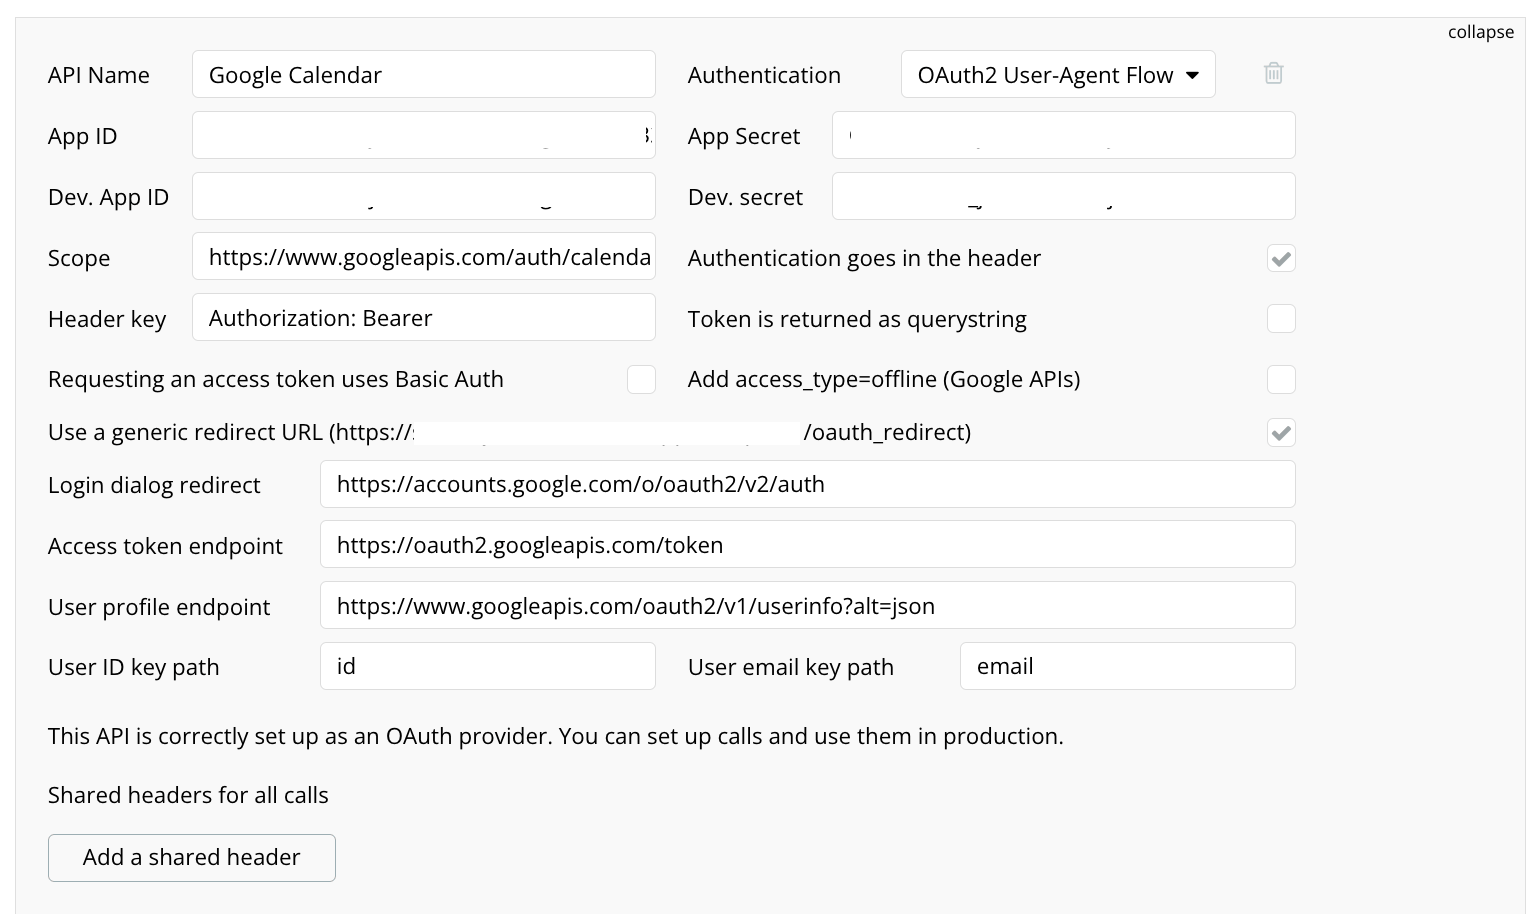
2.「API Connector」にOAuth設定する
Googleカレンダーと連携する為に、APIコネクターを設定します。App ID と App Secret は先ほど取得した Google のクライアント ID とクライアントシークレットを入力します。
GoogleカレンダーAPIの設定値の詳細は公式ドキュメントまたは、Zeroqode が公開している Calendar from Google プラグインの設定を参考にしてください。
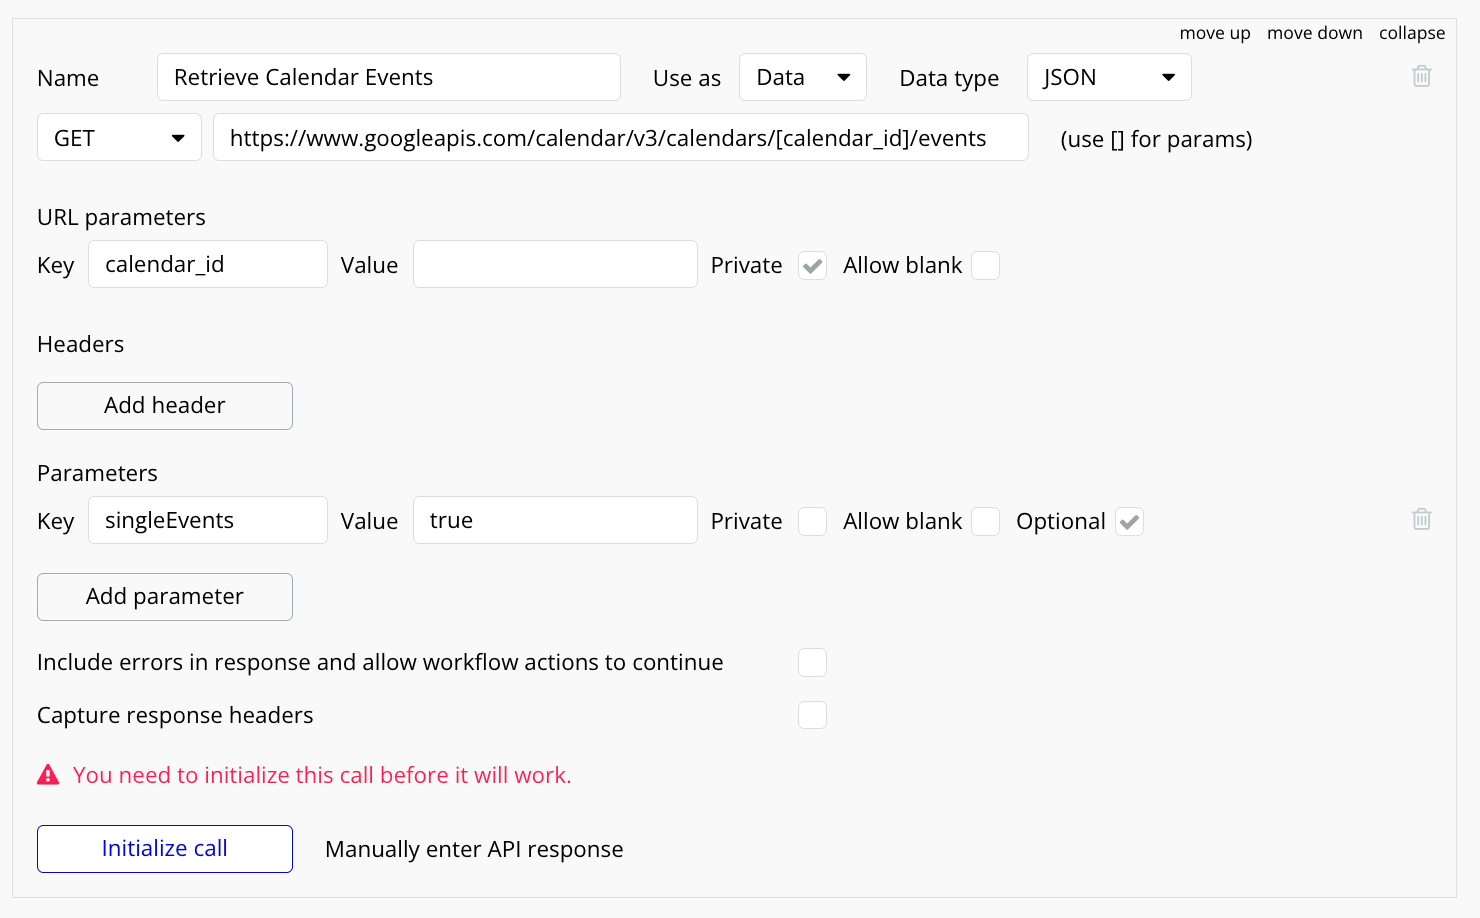
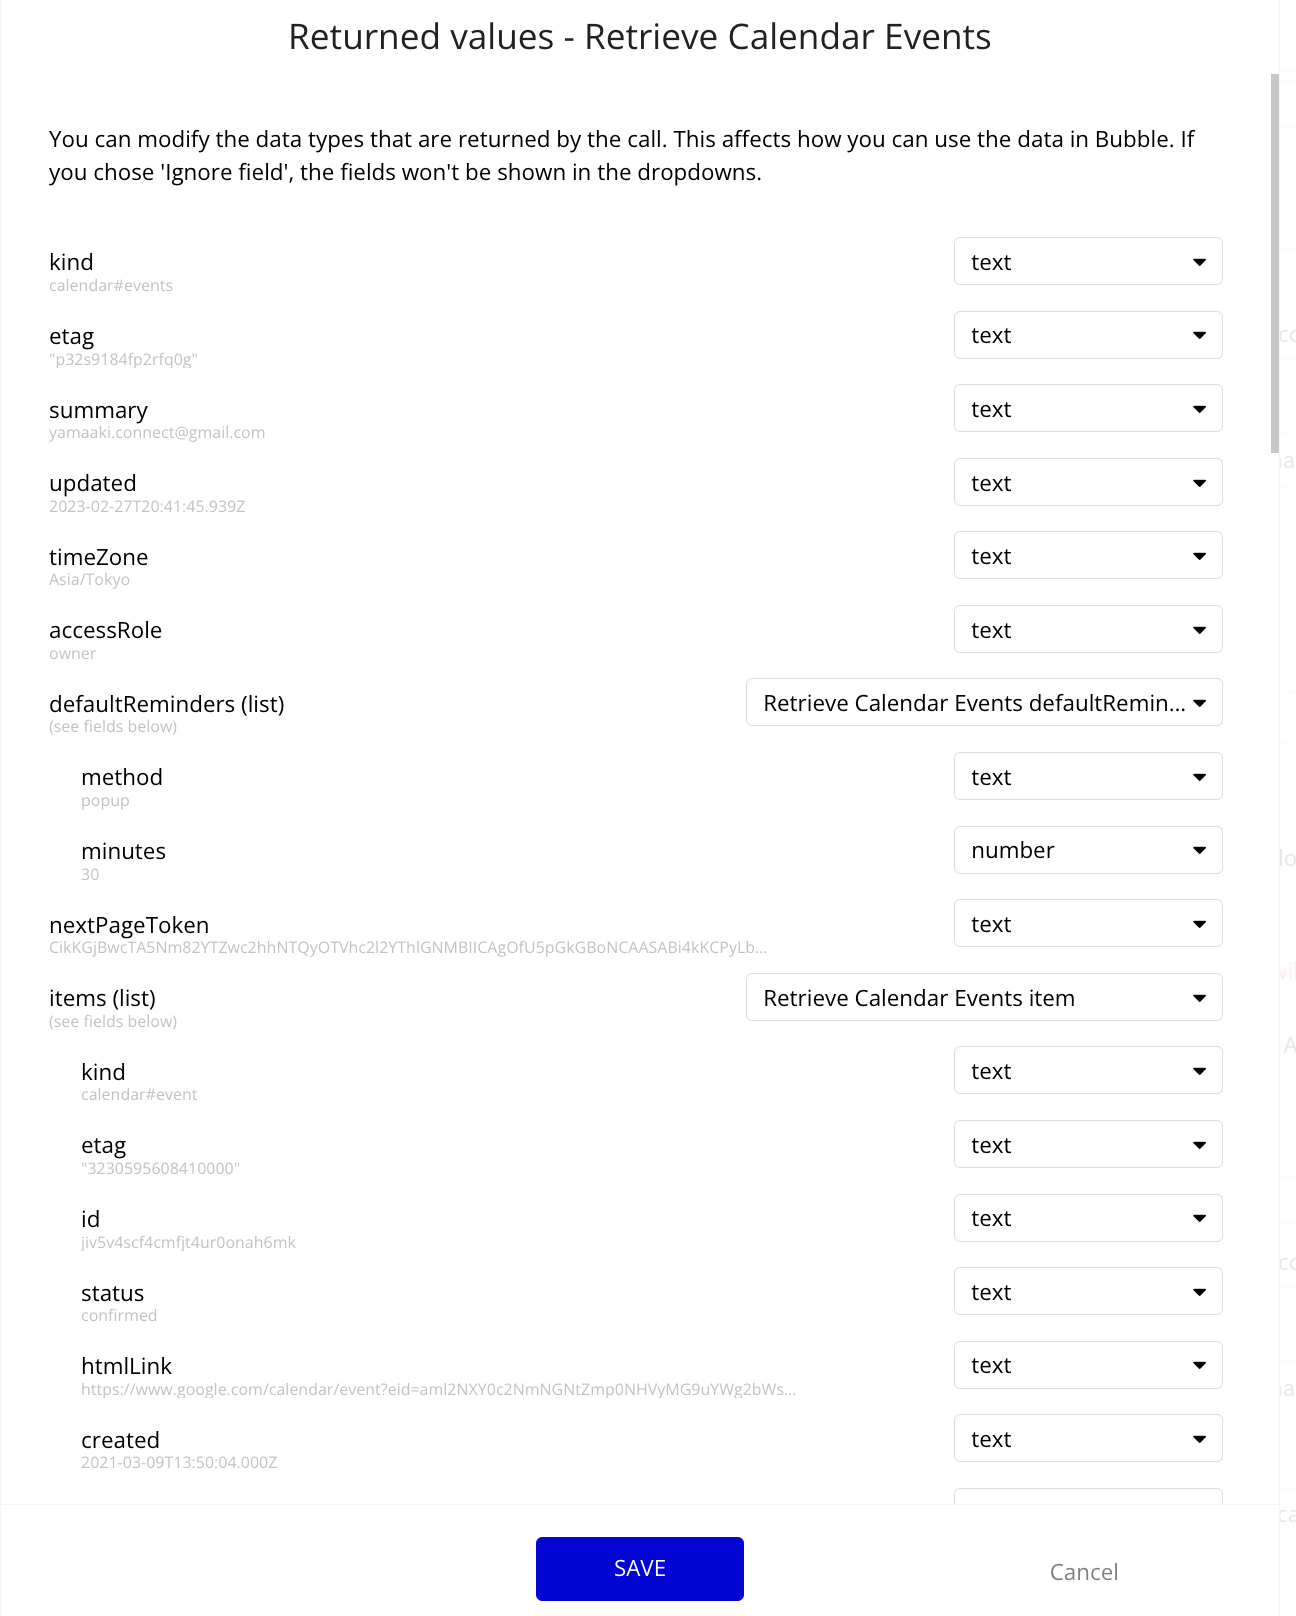
3.「API Connector」に「Retrieve Calendar Events」を設定する
必須パラメータに calendar_id にはGoogleのOAuth設定でテストユーザーとして登録した Gmailアドレスを入力します。Initialize call ボタンをクリックしてReturn値を受け取り、SAVEボタンで保存します。公式APIドキュメントも参照ください。
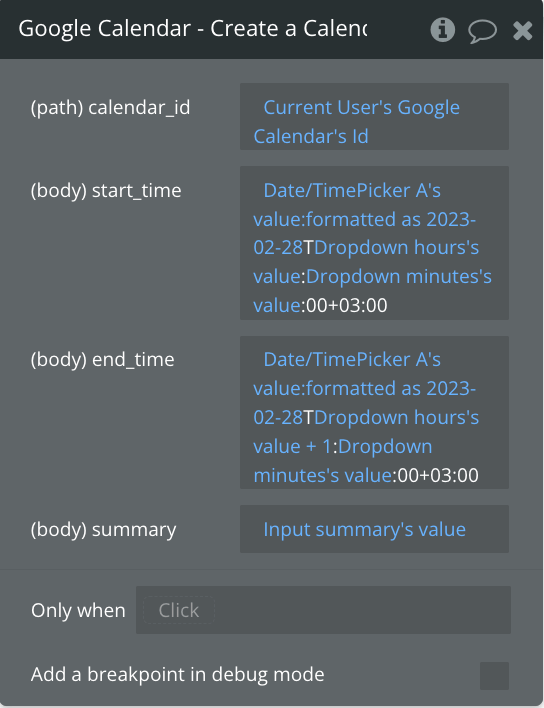
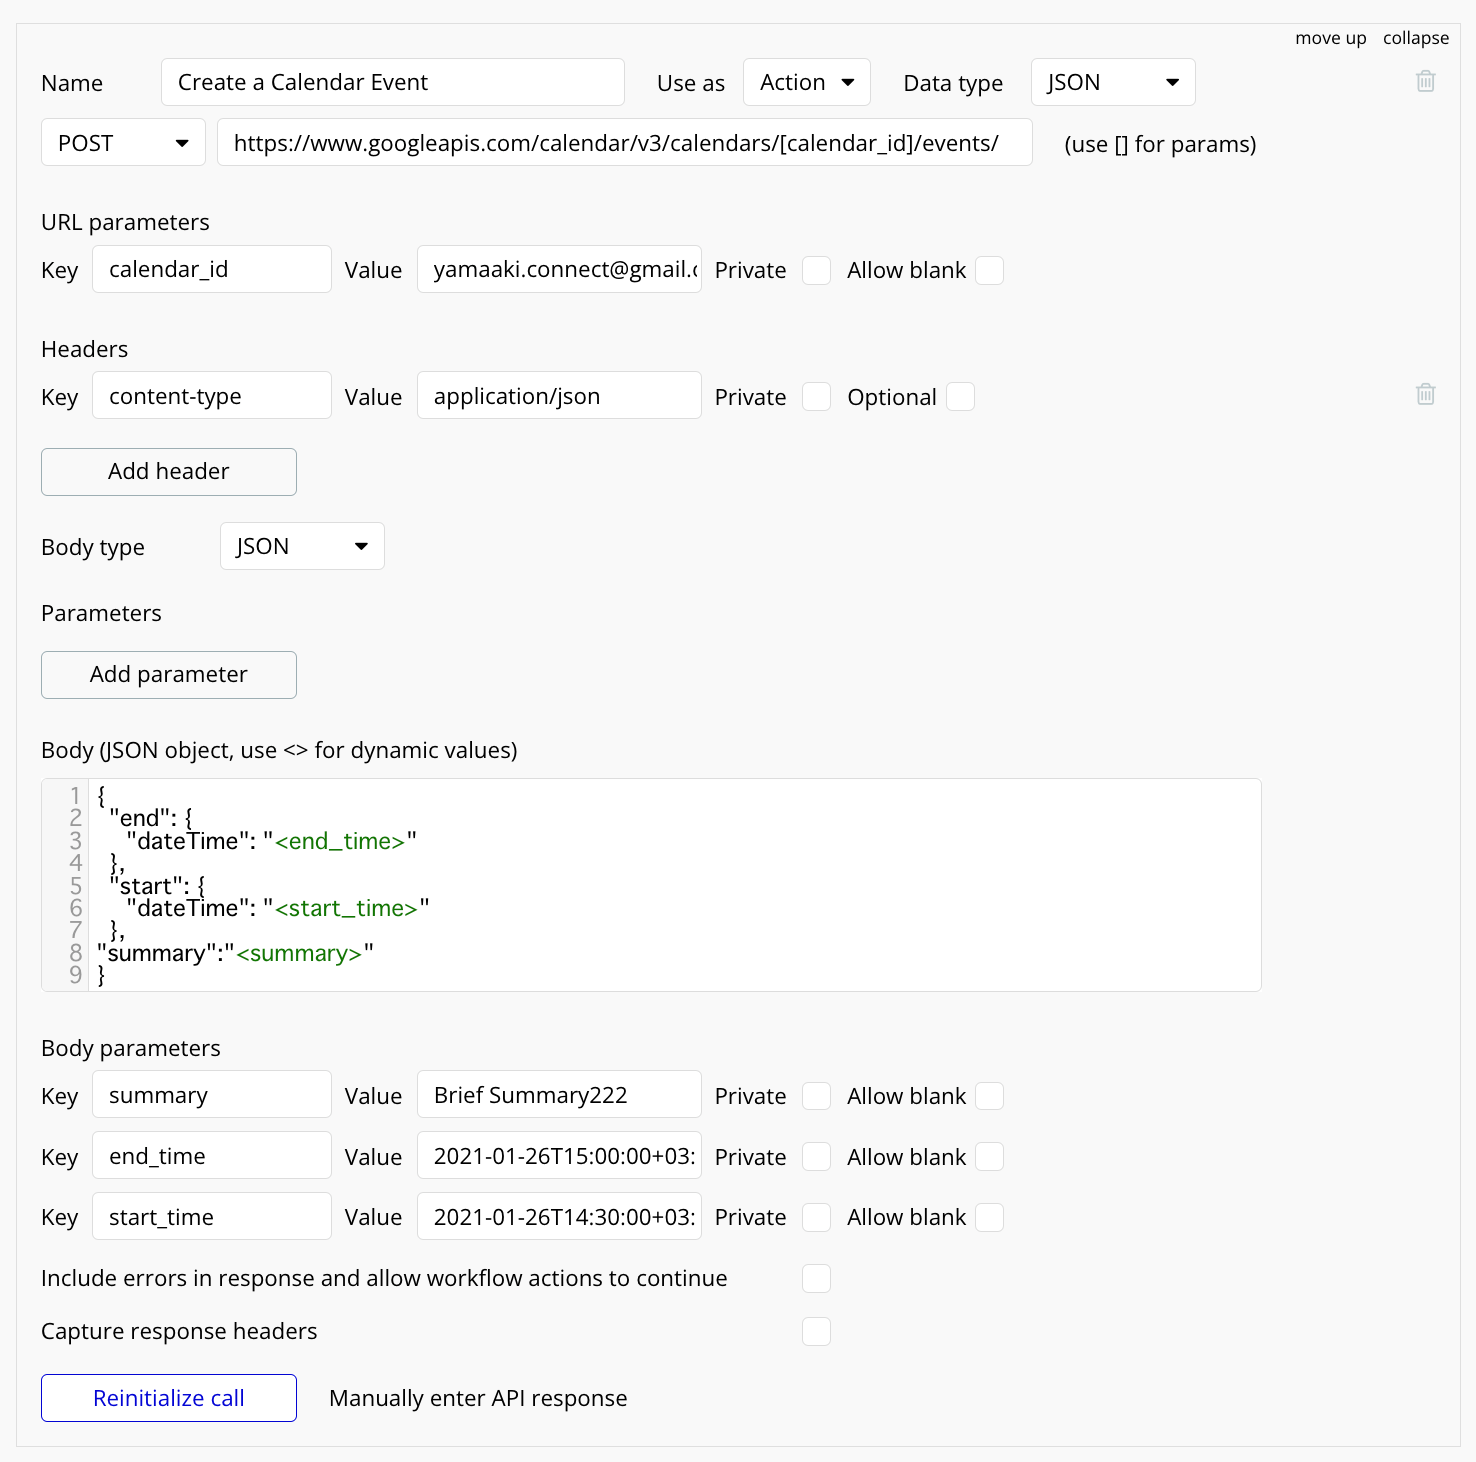
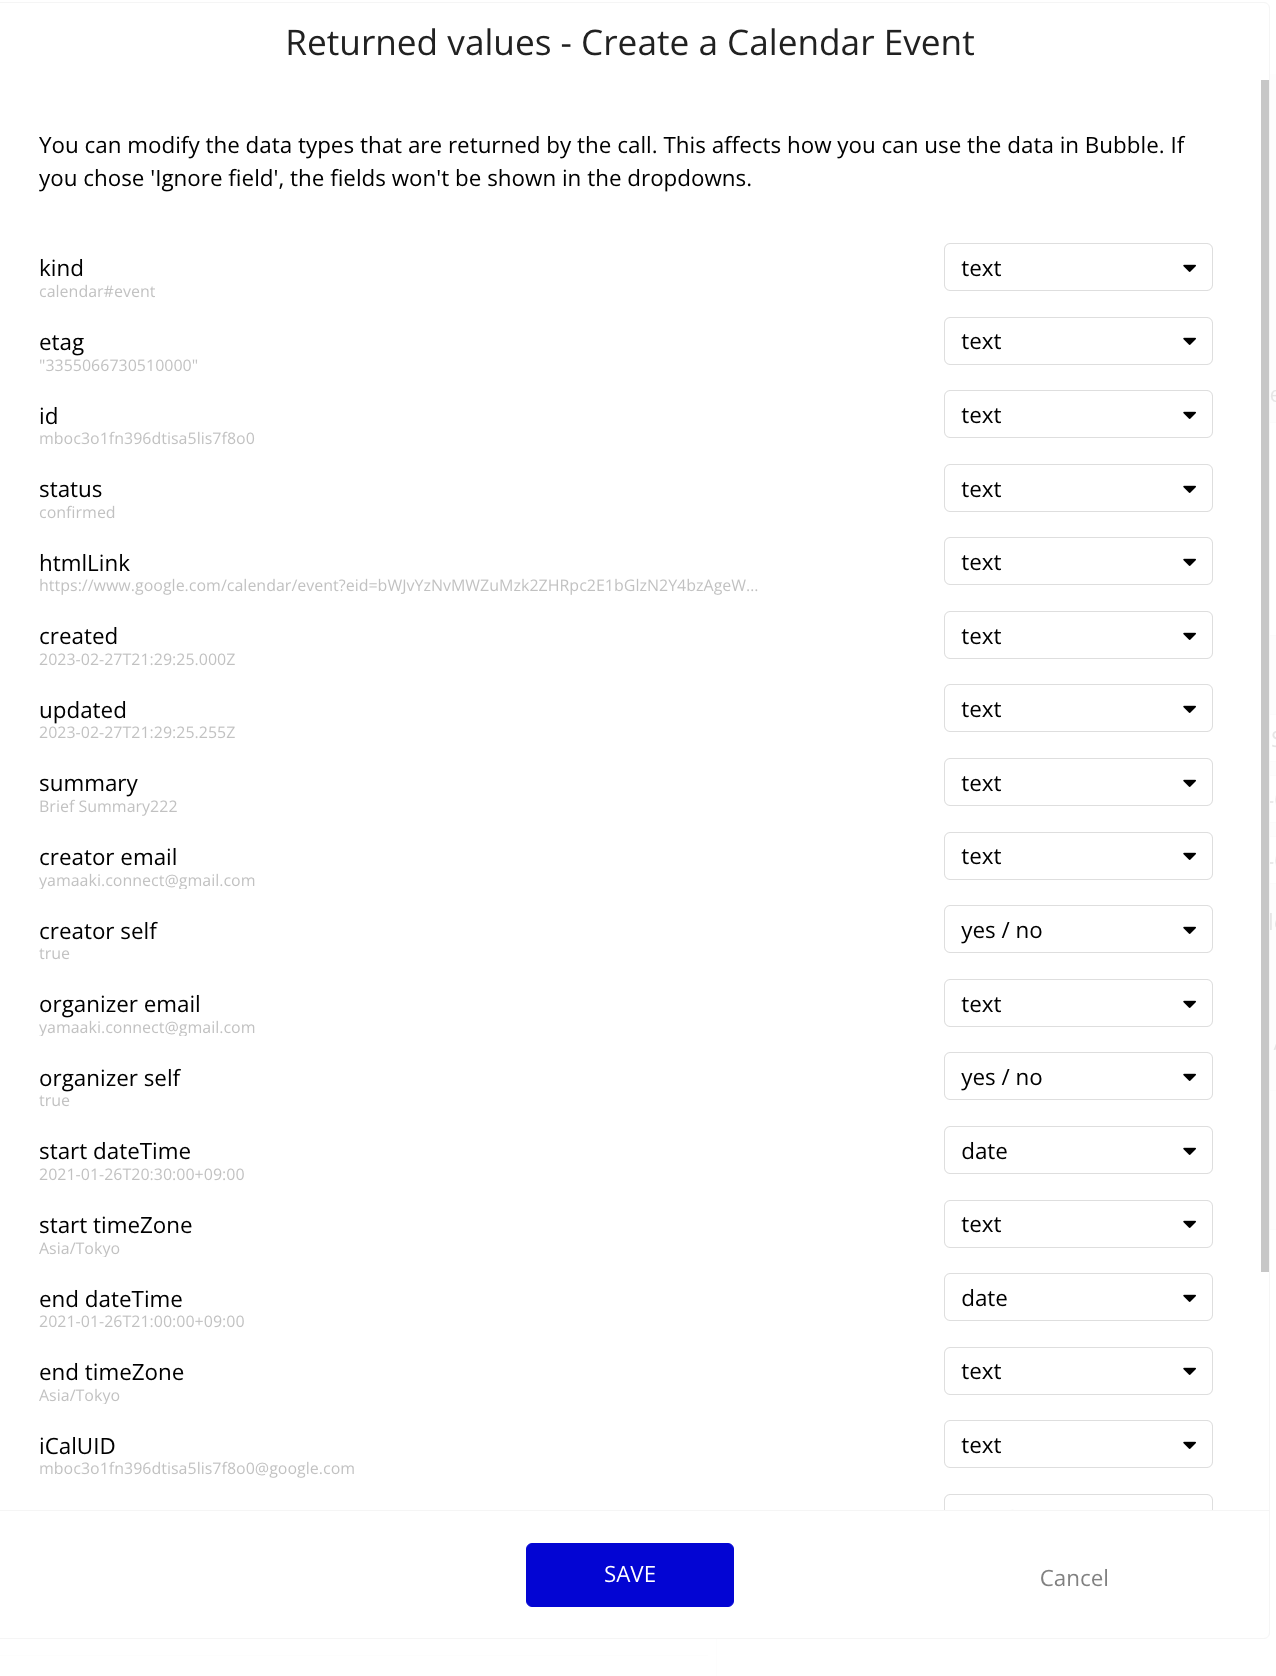
4.「API Connector」に「Create a Calendar Event」を設定する
必須パラメータに calendar_id にはGoogleのOAuth設定でテストユーザーとして登録した Gmailアドレスを入力し、Initialize call ボタンをクリックしてReturn値を受け取り、SAVEボタンで保存します。公式APIドキュメントも参照してください。
Bubbleでスケジュール予約機能(Googleカレンダー)を実装する方法
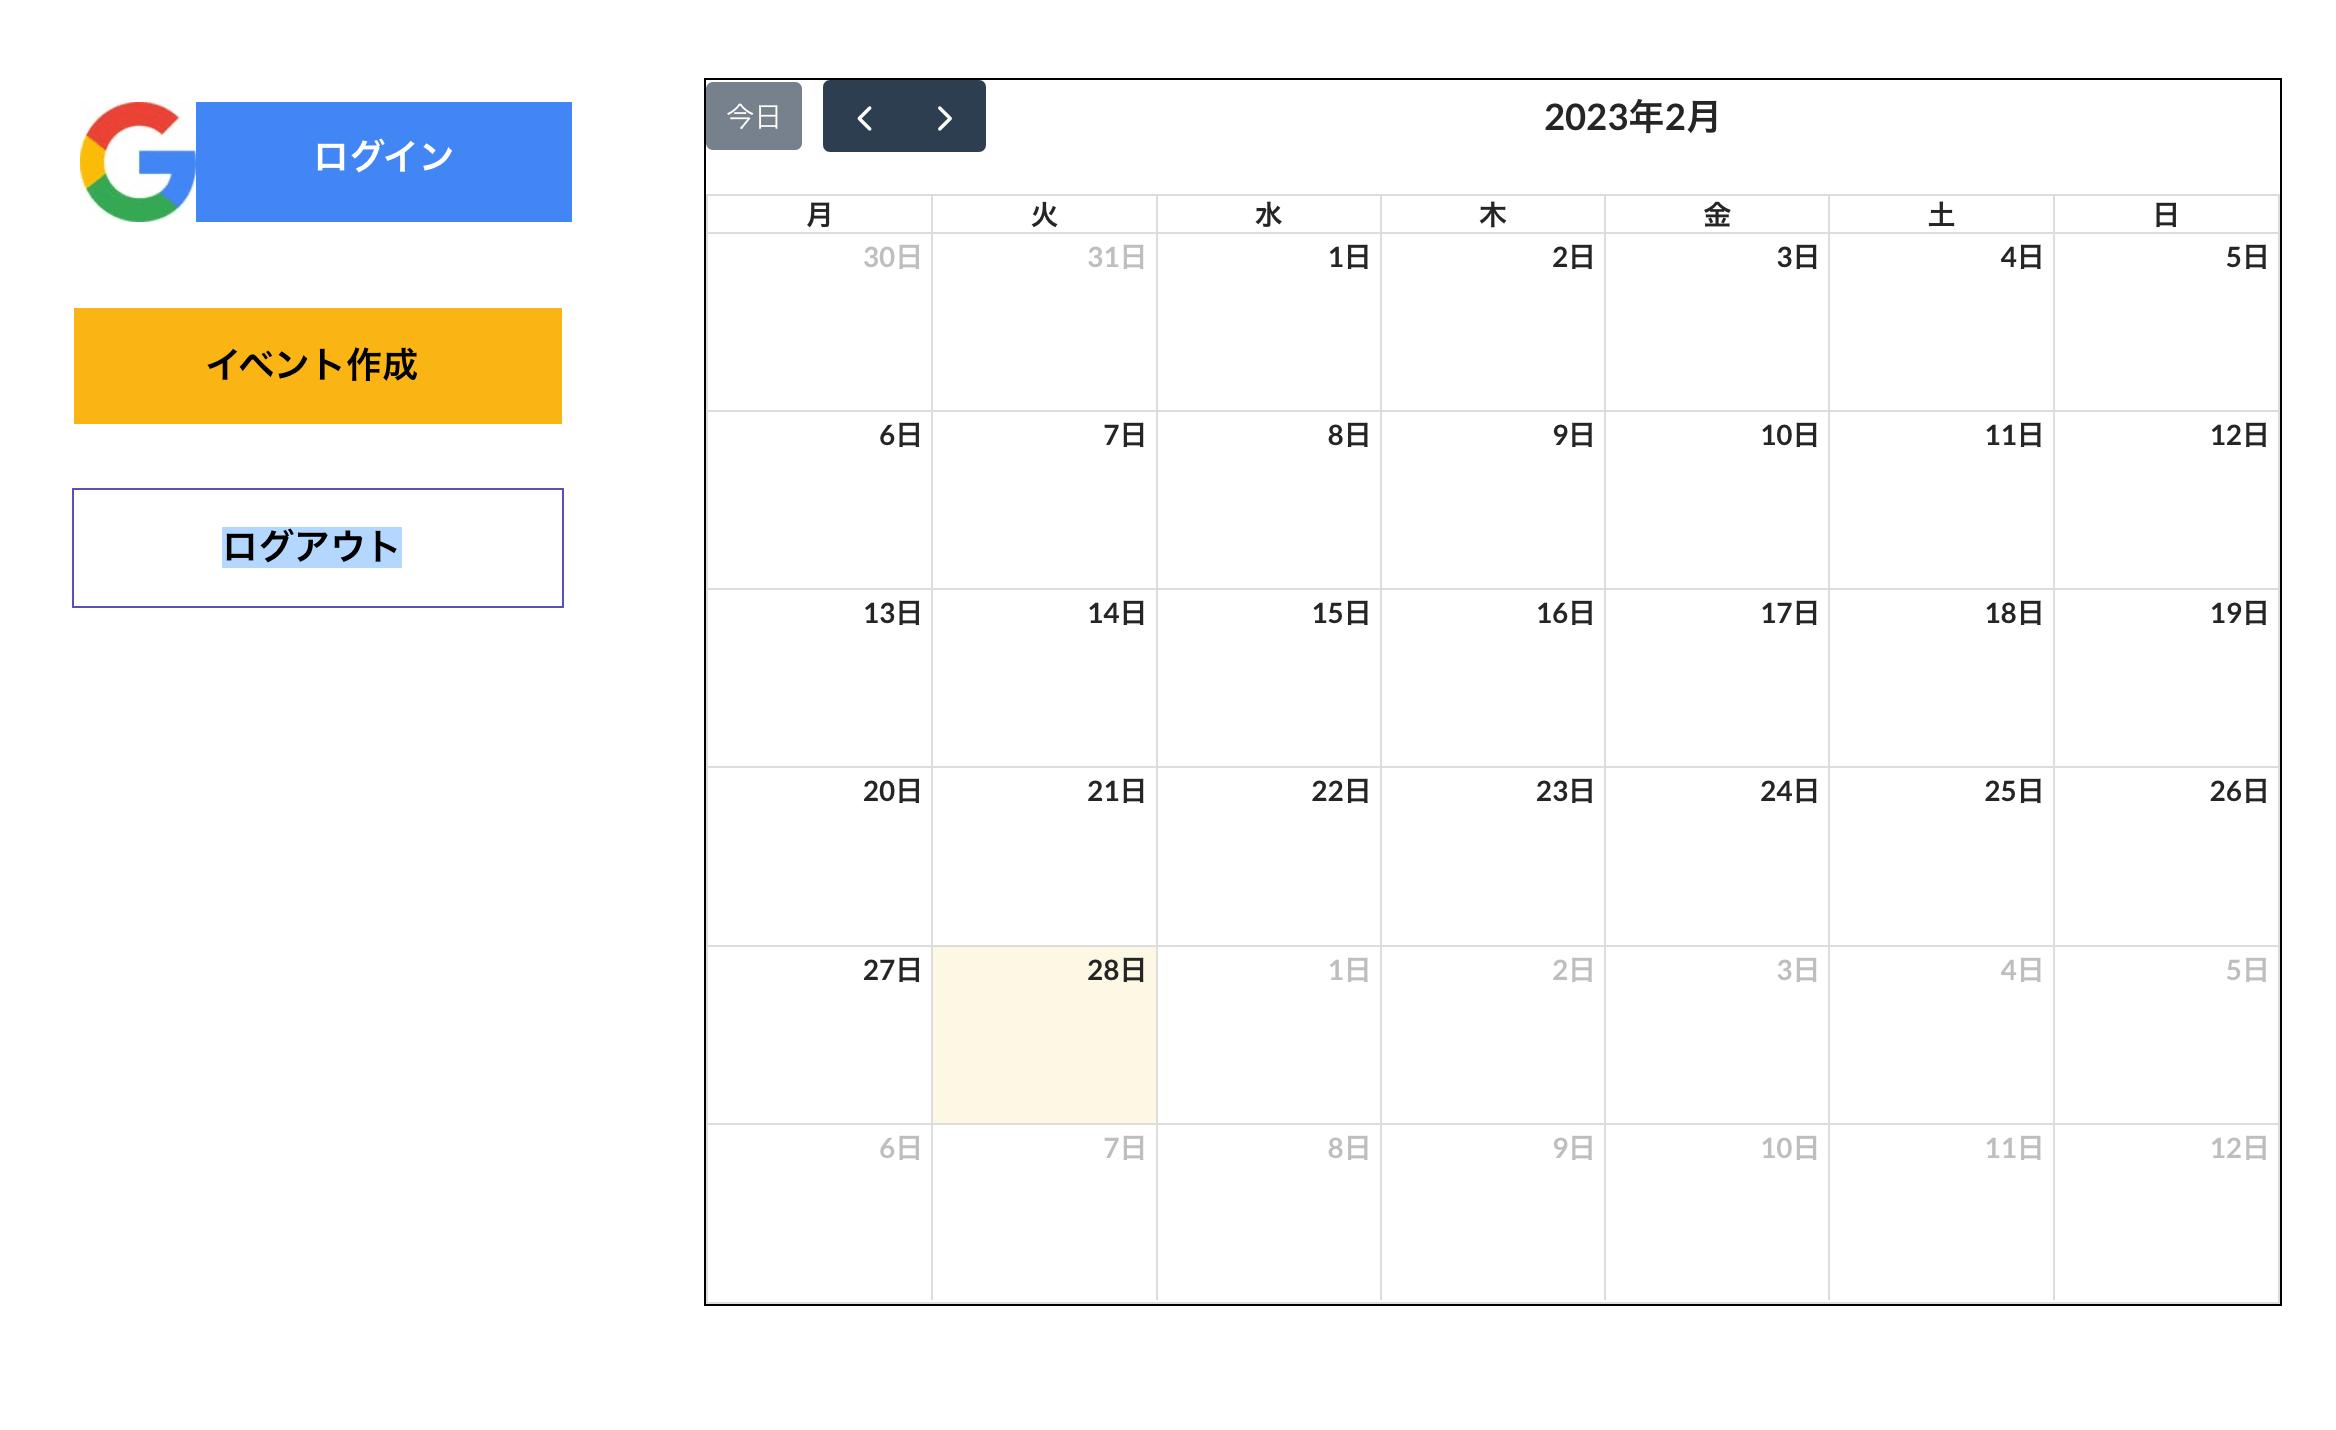
0.完成イメージ
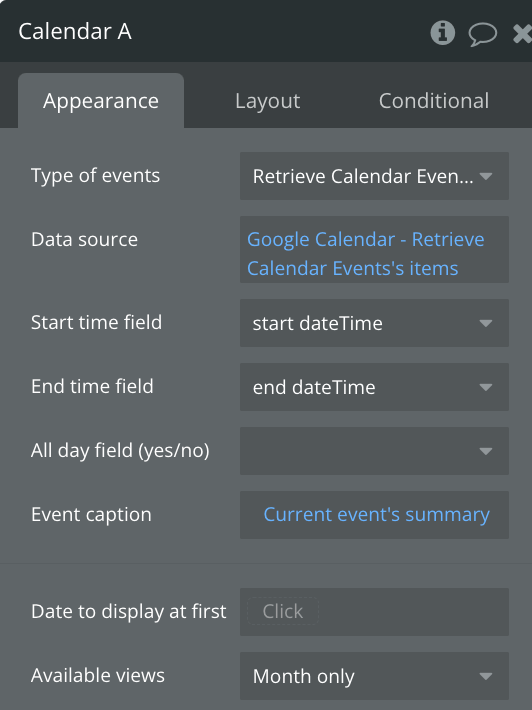
1.「Calendar」エレメントを設置する。
「Full Calendar」プラグインで追加されるCalendarエレメントを追加します。
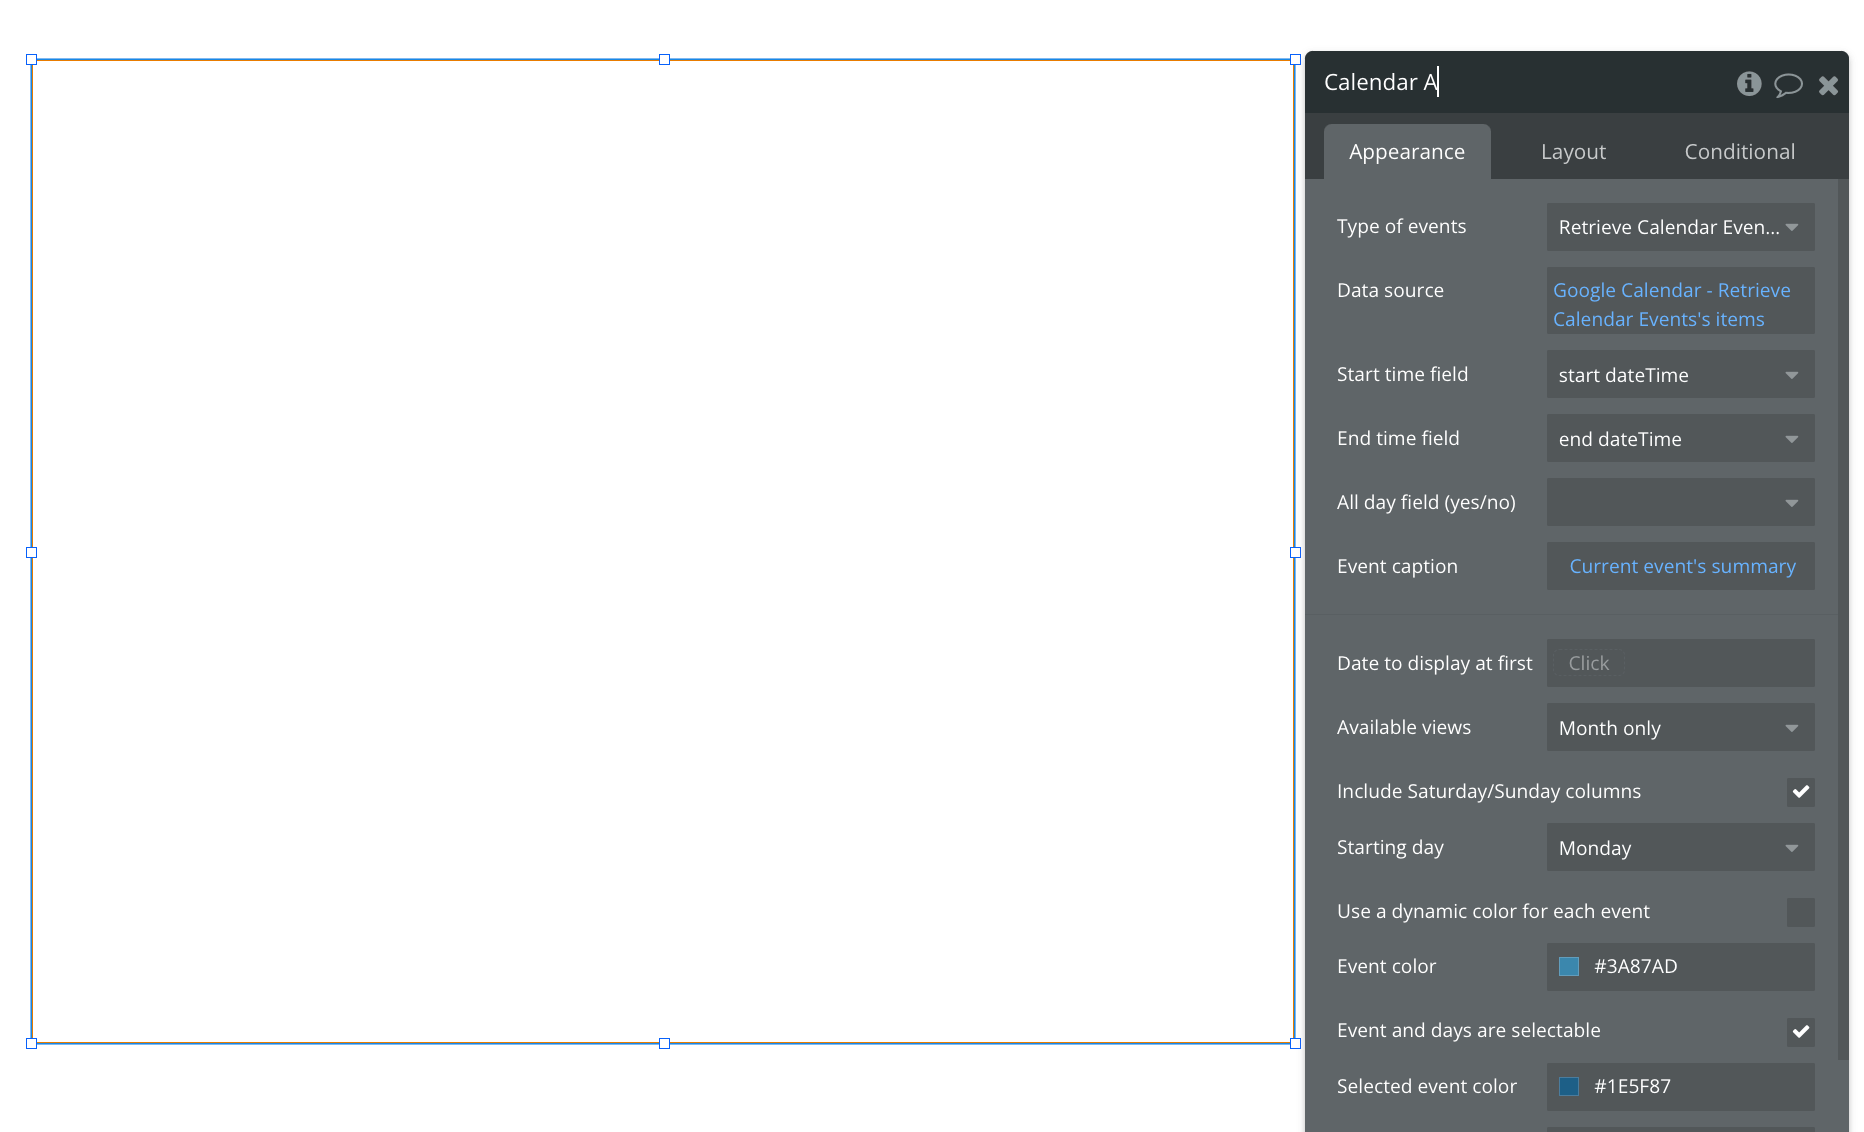
Calendarエレメントの「Date source」に先ほど設定した「API Connector」の「Group Calendar – Retrieve Calendar Events」の値を設定します。
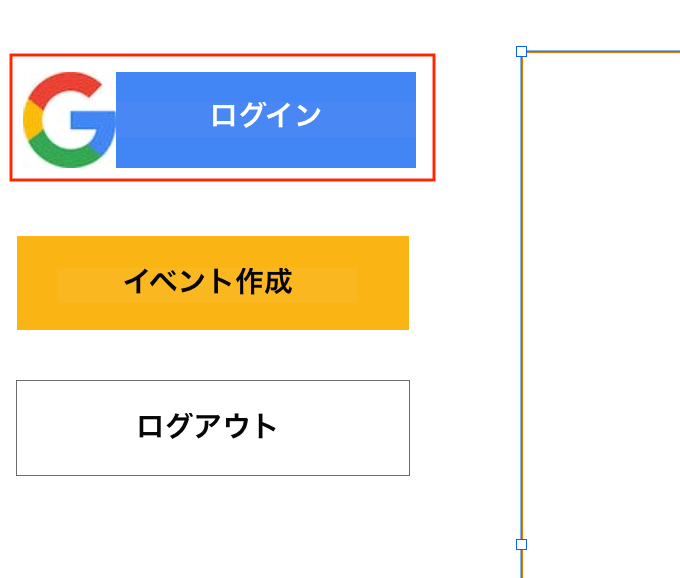
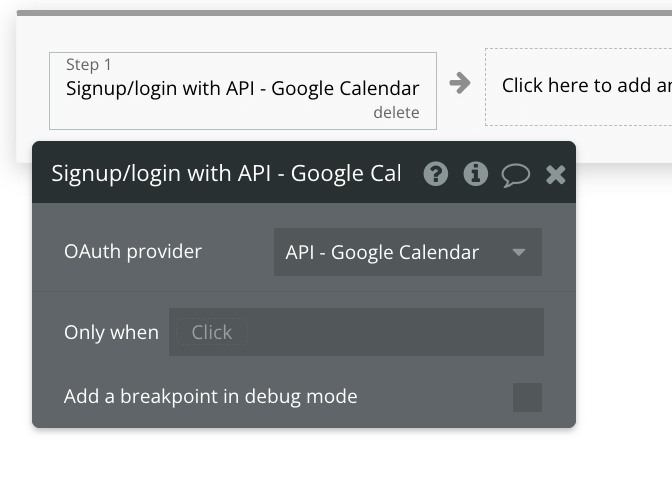
2.Googleカレンダー認証用エレメントを設置する
Googleカレンダー認証用エレメントを設置し、「Signup/login with API」アクションから設定した「API Connector」「Google Calendar」をワークフローに設定します。
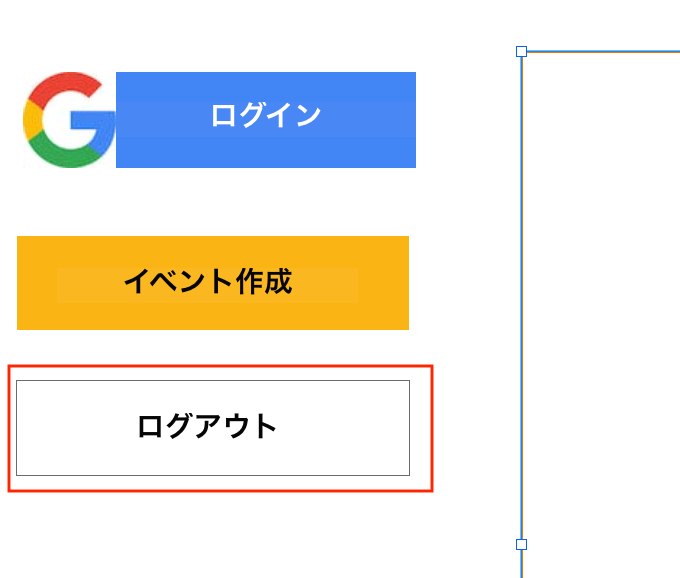
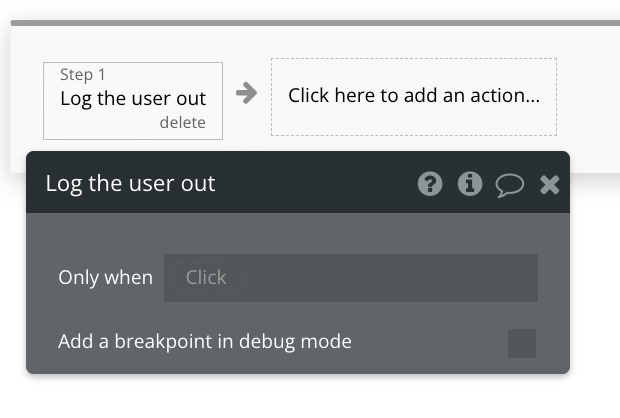
3.Googleカレンダー認証ログアウト用エレメントを設置する
Googleカレンダー認証後にログアウトする為、「Log the user out」アクションをワークフローに設定します。
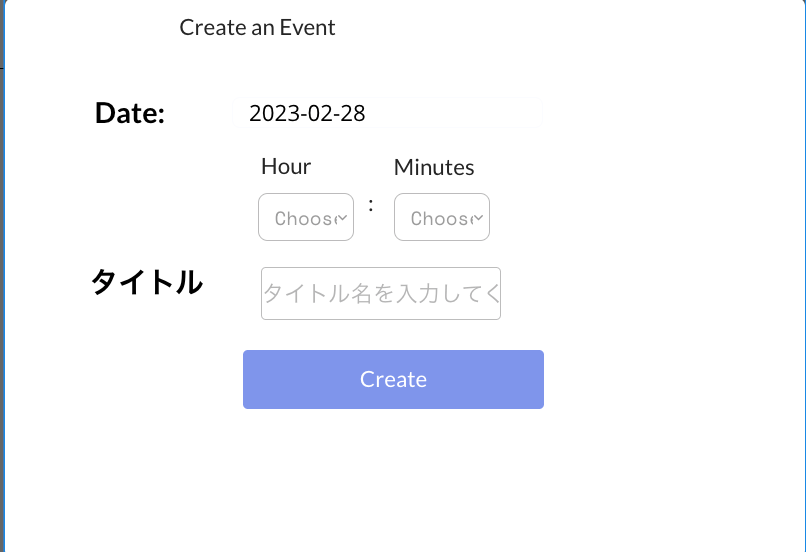
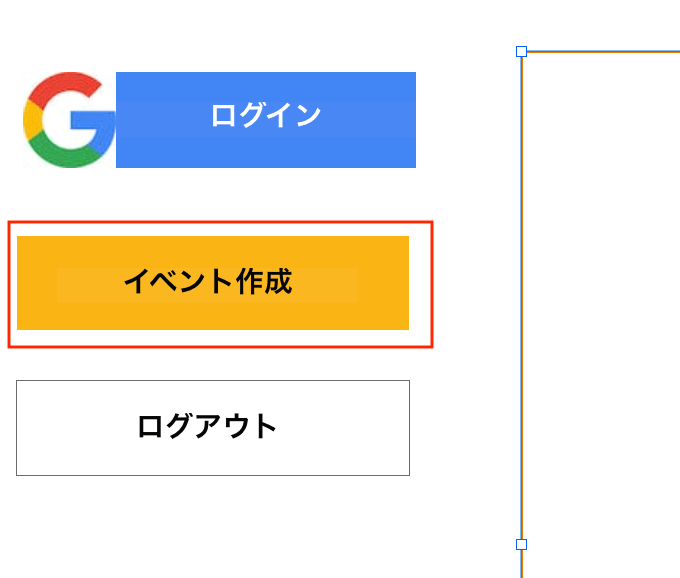
4.Googleイベント作成用エレメントを設置する
Googleカレンダー作成用エレメントを設置し、イベント作成に必要な情報を用意します。
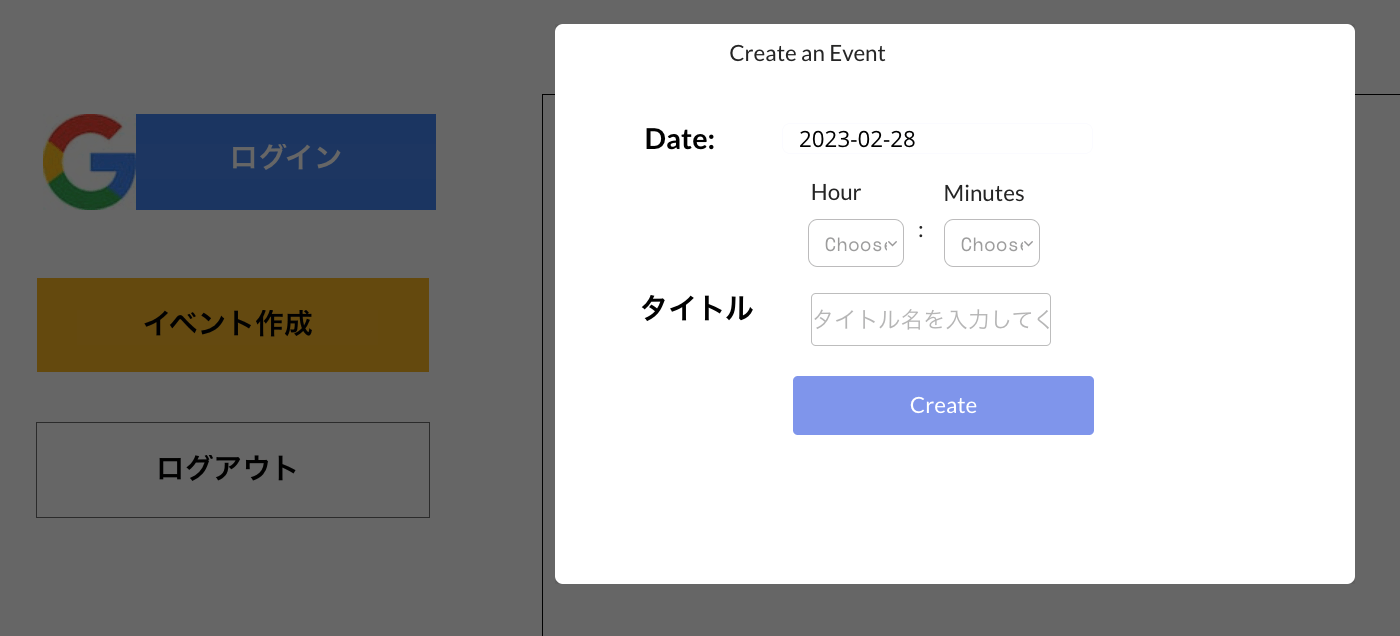
「Create」ボタンに先ほど設定した「API Connector」の「Google Calendar – Create a Calendar Event」をワークフロー設定します。